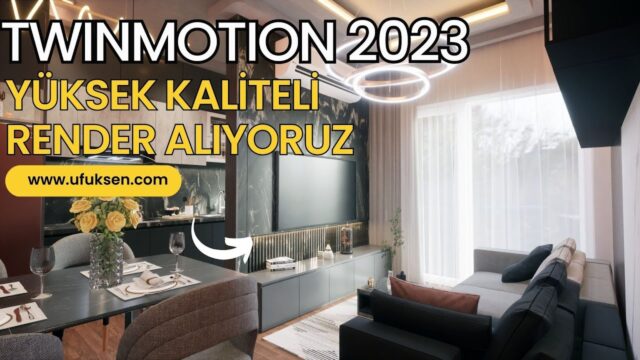
Very Easy Twinmotion 2022 Interior Rendering!

Creating a Twinmotion render is much easier than you might think. In this lesson we do a quick interior visualization with Twinmotion 2022.1. Applying materials and setting up the render takes about 10 minutes in total. The render itself takes about 3 minutes. So in a short coffee break, you end up with a finished interior image.
The lesson suits beginners too. We skip the complex settings and make smart use of the default values. That way you see Twinmotion’s speed in its simplest form.
Twinmotion render lesson video
The video runs about 21 minutes. We recommend opening your own model and trying the steps as you watch.
 YouTube
If you want to support our channel and get member perks, you can join our YouTube channel. (The video is in Turkish; this guide walks through the key steps in English.)
Why is it so fast?
Twinmotion is a real-time program built on Unreal Engine. You see every change you make in the scene instantly. So you do not wait for long renders while testing. For example, when you change a floor material, you see the result on screen right away.
On top of that, the program’s library is full of ready-made materials. You apply surfaces such as wood, stone, fabric and metal by dragging and dropping. So the texturing stage takes much less time than in classic engines.
Twinmotion render steps
Here is the general order we follow in the lesson. You can follow the same steps in your own interior.
- Import the model: Bring the SketchUp model into Twinmotion and check the scene.
- Assign materials: Drag materials from the library onto the walls, floor, ceiling and furniture.
- Set the light: Choose the sun direction and time of day based on the windows.
- Place the camera: Find the angle at eye level that shows the space best.
- Set up the render: Choose the resolution and save the image.
These five steps are enough for most interiors. When you want higher quality, you continue with effects and detailed light settings.
Saving time on materials
Texturing is usually the stage that takes the most time. But with a little preparation in SketchUp, you can cut this time down a lot. Give each material a meaningful name, and paint surfaces that share a material with the same one. That way, when you change one material in Twinmotion, all the related surfaces update together.
Also watch the texture scales. If the parquet or tile size does not match reality, the image looks fake right away. So always check the scale after assigning a material.
Checking the light before a Twinmotion render
In an interior, light sets the mood of the image. Make the daylight from the window your main source. If some corners stay dark, add small artificial lights. But do not make the lights too strong, because blown-out white areas wipe out detail.
Color temperature matters too. Warm tones create an inviting mood in living spaces. Whiter light gives a clean look in spaces such as kitchens and bathrooms.
What affects render time
In the lesson, the render takes about 3 minutes. But this time will be different on your computer. The power of your graphics card, the resolution you choose and how heavy the scene is directly set the time. For example, a very high resolution or dense vegetation makes it longer.
So render your test images at low resolution. When you like the result, save the final image at high resolution. For the current system requirements, see Twinmotion’s official website.
Editing after a Twinmotion render
After saving the image, a small edit often makes a big difference. Gently tidy up brightness, contrast and color balance in a photo editor. But do not overdo it. The goal is not to change the image, just to polish the result the render engine gave you a little. You can also enrich your presentation by rendering day and evening versions from the same camera.
For more
This lesson is also the last video in our interior series. For the lessons before it, see our Twinmotion interior visualization post. For higher quality, move on to our high-quality interior scene lesson, which uses path tracing.
Two posts that complement this lesson: Fast Visualization With Twinmotion 2022 and the Twinmotion Course. We collected the full learning path in our SketchUp render guide.
Frequently asked questions
How long does a Twinmotion render take?
In the lesson, materials and settings take 10 minutes, and the render takes about 3 minutes. Your time will depend on your computer and your scene.
Which Twinmotion version was the lesson made with?
We made the lesson with Twinmotion 2022.1. Even though the interface changes in newer versions, the basic steps stay the same.
Do I need a powerful computer for a Twinmotion render?
Since the program runs on the graphics card, a powerful card improves smoothness and render time. But simple scenes also run on mid-range systems.