Fast Visualization with Twinmotion 2022

With Twinmotion you can get high-quality exterior images fast.
For a quick exterior video where you can see Twinmotion’s details:
 YouTube
What’s in this video?
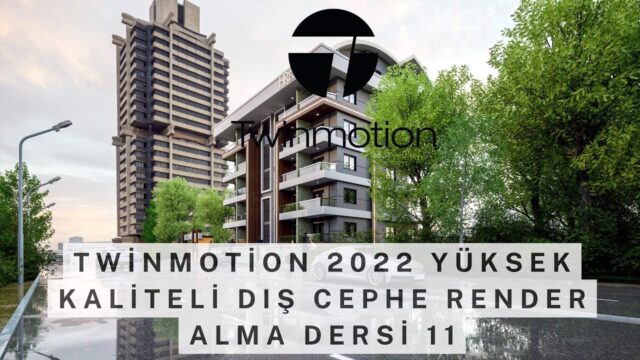
In this video we walk through a step-by-step Twinmotion exterior render lesson with Twinmotion 2022. The video’s title is “Exterior Render Tutorial”. As we said in the article, the goal is to get high-quality exterior images in a short time. (The video is in Turkish; this guide walks through the key steps in English.)
The YouTube description only repeats the title and has no chapter timestamps. So let us sum up the content as far as we can tell from the title:
- Preparing an exterior scene for rendering inside the program
- The workflow for getting high-quality exterior images out of the scene
The video is a long hands-on lesson. So we recommend keeping your own model open while you watch. When you try each step in your own scene, what you learn sticks much better.
Who is it for?
The video is about 40 minutes long. It suits users who know the program a little and want to take their exterior images to the next level. Architecture offices that prepare images of villas, housing and commercial buildings will also benefit from this lesson.
It has something for interior designers too. The light and camera logic you learn in an exterior lesson works just the same in interior scenes.
It is a useful lesson for beginners as well. But we recommend getting to know the program’s interface first. That makes the steps in the video much easier to follow.
What you need to know for an exterior render in Twinmotion
Rendering is the job of producing an image from a 3D model, with its light, shadows and materials. In real-time programs, you see this image live on screen while you work. That way you make your decisions without waiting.
Outdoors, the sun plays the biggest role. The direction and height of the sun directly affect the shadows on the facade and the volume of the building. For example, a low sun shows the recesses and projections of the facade more clearly.
The sky matters as much as the sun. An overcast sky gives soft, even light. A clear midday sun produces hard shadows and strong contrast. So choosing the sky to match the mood the project wants to convey sets the impact of the image from the start.
Materials are the second key topic. Surfaces such as glass, metal and wet ground reflect their surroundings. These reflections add depth to the image. Fully matte, flat surfaces, on the other hand, make the scene look artificial.
- Scale: make sure brick, stone and parquet textures appear at real size.
- Surroundings: objects that give scale, such as trees, people and cars, bring the building to life.
- Camera: save a few different angles, then pick the best one.
- Output: render tests at a small size and export the final image at high resolution.
Also think about the model itself. Organized tags and meaningful material names in SketchUp speed up your work in the render program a lot. For the basics of model preparation, take a look at the official help pages.
After you render the image, do a quick check. Is there blown-out light on the facade, are the shadows too dark, do the trees hide the building? The answers to these questions often decide the quality of the final image on their own.
Finally, be patient. The first image often does not come out the way you want. As you change the light, the materials and the framing in small steps, the image gets closer to what you want.
Related lessons
- We cover the same topic with a different example in our article on realistic rendering.
- For a simpler scene, see the lesson on simple exterior visualization.
- We covered exteriors in the next version in our exterior render with 2022.1 lesson.
- For anyone who wants to learn the program from scratch, our beginner course series is ready.
- All our render content is on our render guide page.
Frequently asked questions
Why do people choose Twinmotion for exteriors?
Its large environment library and real-time workflow make it easy to get fast results outdoors. The difference is especially clear in scenes with landscaping.
Why does my render look washed out or gray?
Most of the time the exposure or the sun setting is the cause. Check the light balance first, then look at the reflection values of the materials.
How should I follow a long lesson?
Split the video into sections and try the same step in your own scene after each one. That way you can comfortably finish the 40-minute lesson over a few sessions.
Can I make animations with Twinmotion too?
Yes. From the same scene you can export videos with camera movement as well as images. These videos make it easier to explain the project in presentations.