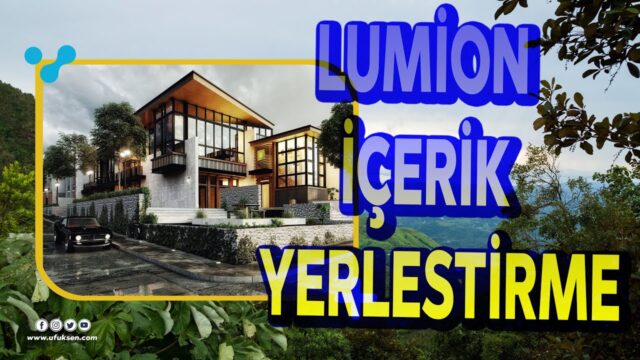
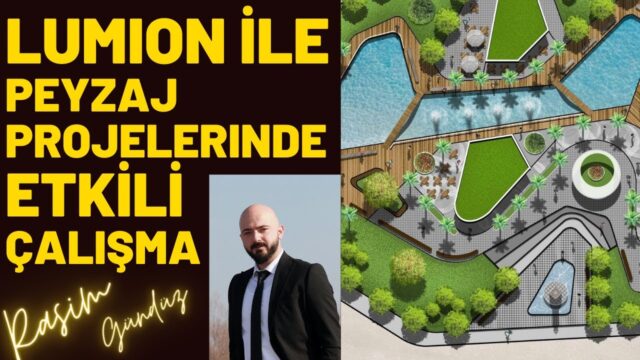
Lumion 12 Lessons: The Full Course in One Video

We have combined our Lumion 12 lesson series into a single video. That way you can watch every step from the interface to your first render without interruption. The video runs about 37 minutes and is made up of eleven short lessons. We made it for people new to Lumion and for those who want to turn a SketchUp model into a presentation quickly.
 YouTube
We recorded this series in 2022 with Lumion 12. Menu names and some buttons have changed in newer versions. But the workflow has largely stayed the same. (The video is in Turkish; this guide walks through the key steps in English.)
In this video:
- The main menu, example projects and the Benchmark (performance test)
- Editor settings and ready-made templates
- Navigating the scene with keyboard and mouse
- The content menu, moving objects and adjusting height
- Selecting similar objects and grouping them
- Placement along a line, in clusters and by painting
- Rendering and effects in Photo mode
Lumion 12 lessons: getting to know the main menu
In the first lesson we look at the main menu. Here you find creating a new project, loading a saved project and the example projects. You can open the example projects and study their effects and objects for your own work. But deleting the building in an example scene and dropping in your own does not always give good results. The material, reflection and shadow settings change with your model.
The main menu also has a performance test. The test measures your graphics card, processor and memory. If the result is close to the recommended line, your system runs comfortably. On the other hand, when you load too many objects and effects, moving around the scene gets hard. So it is important to know your hardware from the start.
Editor settings and ready-made templates
In the second lesson we open the settings icon at the bottom right. Here you can lower the editor quality and resolution. That way the scene runs more smoothly, especially on a laptop. Showing dense trees as simple boxes also gains speed. We raise the render quality at the final stage anyway.
When you create a new project, ready-made templates appear. For example, there are forest, desert and tropical environment options. There is also an all-white design showcase template. This template is ideal for presenting a single product, such as a chair.
Lumion 12 lessons: navigating the scene
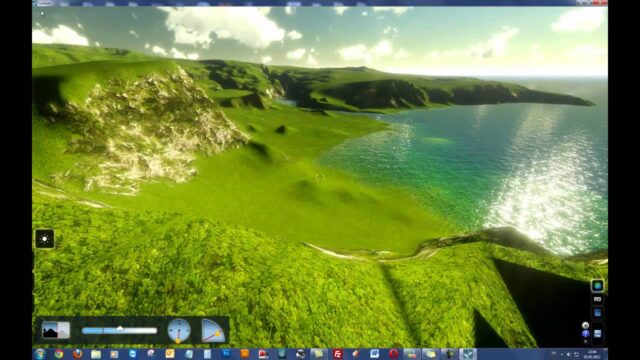
In the third lesson we learn the camera movements. You look around by holding down the right mouse button. On the keyboard, you move forward, back and sideways with the W, A, S and D keys. The Q and E keys move the camera up and down. The Shift key speeds up movement, and the Space key slows it down. This slow movement is very useful when recording animations.
The content menu and placing objects
In the fourth lesson we move on to the content menu at the bottom. Trees, people, vehicles and interior objects sit in separate categories. If you see a number on an object, it means there are other variants under it. You add an object to the scene by selecting it and clicking on the ground.
There is an important detail. To delete or move an object, you need to be in its category. For example, if you want to delete a person, you need to switch to the people category. You can also bring a tree whose roots are floating down to the ground with the height tool.
Selecting similar objects and grouping them
In the fifth lesson we cover multiple selection. When you add the same tree one after another, the sizes come out slightly different by themselves. This natural variation makes the scene realistic. With the “select all similar” option in the selection menu, you can select all the palm trees at once, for example. Then you give them a random size to make them all look natural.
You can also turn the objects you selected into a group. You change color, transparency and size on the group in one go. That way you save a lot of time in large landscape scenes.
Lumion 12 lessons: mass placement tools
In the sixth and seventh lessons we look at mass placement. With placement along a line, you set a start and end point. The program lines up the objects you chose along this line. You can also adjust the density, the distance from the line and the randomness.
Cluster placement scatters objects in clumps. With paint placement, you paint trees or shrubs onto the ground with a brush. The density setting is very important here. Painting too densely puts a heavy load on the graphics card.
High-detail trees and performance
In the eighth lesson we talk about high-detail trees. These models are very high quality in both leaves and textures. But if you use them everywhere, the scene gets heavy and render time goes up. So use them only where the camera is focused. Simpler models are enough for the trees in the background.
Your first render in Photo mode
In the ninth and tenth lessons we switch to Photo mode. First we save a frame without effects. The eye level comes in at about 1.62 meters. Then we choose the realistic style from the preset styles. After that we render as a PNG at 1920×1080 resolution. The time depends on the power of your graphics card.
In the last lesson we add the effects ourselves. We turn on two-point perspective, Real Skies, Sun, Reflection and Shadow effects one by one. We also measure how much these effects lengthen the render time.
Summary
In this compilation video we built a scene from start to finish with Lumion 12. We went through the interface, navigation, object placement, grouping and rendering steps in order. Before moving your model into Lumion, read our post on moving files from SketchUp to Lumion. For our other Lumion lessons, see our Lumion course set page. When choosing hardware, our render computer guide will also guide you. You can get the current version of the program from Lumion’s official website.
Frequently asked questions
Who are the Lumion 12 lessons for?
They suit people who have never used Lumion. Anyone who models in SketchUp and wants a fast presentation will also benefit.
Why does my Lumion scene lag?
Usually the number of objects and effects strains the graphics card. Lower the editor quality and reduce dense placement.
How do I select all similar trees in Lumion?
Select one tree and choose select all similar from the selection menu. Then you make size or type changes in bulk.