SketchUp Scenes and Animation: A Smooth Walkthrough for Your Client

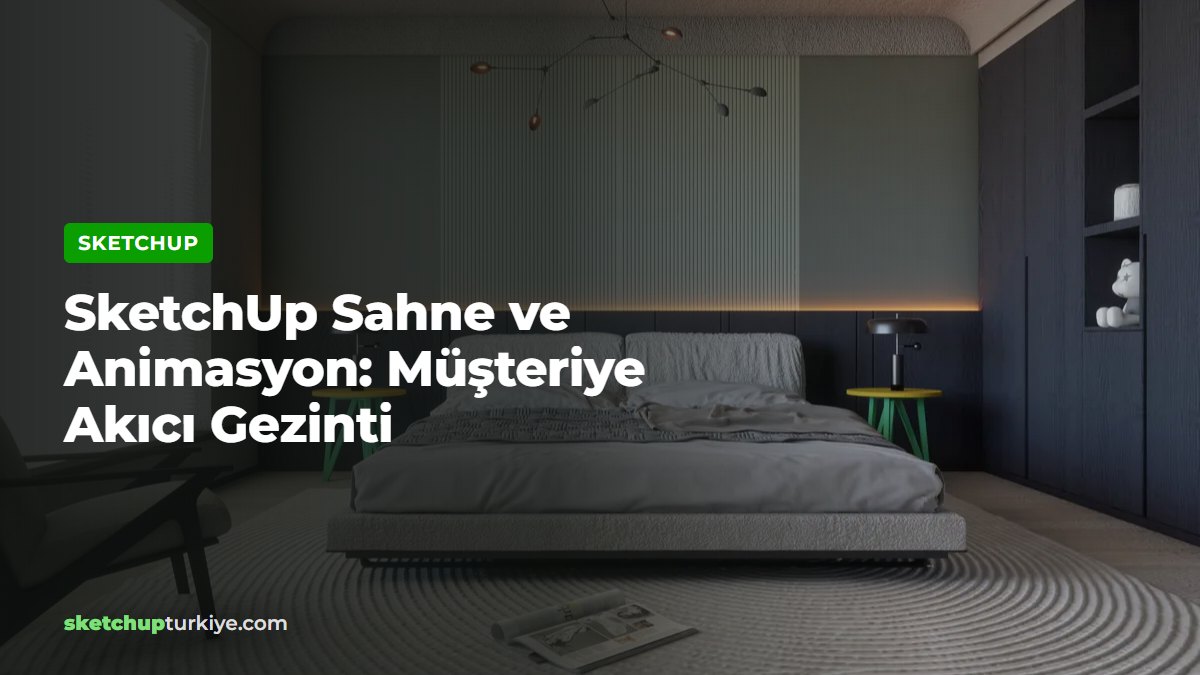
You are in the meeting room and the client is looking at the screen. You are trying to orbit the model with the mouse, the camera goes inside a wall, and you just cannot catch the living room from a good angle. SketchUp scene animation takes this tense moment away. It saves every angle in advance and turns them into a smooth walkthrough with one click.
We have been teaching SketchUp for eighteen years. In a presentation, what loses the most trust is not bad design but a messy walkthrough. A designer who arrives with scenes ready, on the other hand, runs the meeting from the first minute. And they export a video from the same scenes and send it to the client the same day.
In this article:
- What is a scene, and what does it remember?
- Adding and updating scenes in the Scenes panel
- Transition time and delay settings
- Exporting the animation as a video
- A client walkthrough, step by step
- Frequently asked questions
What is SketchUp scene animation, and what does a scene remember?
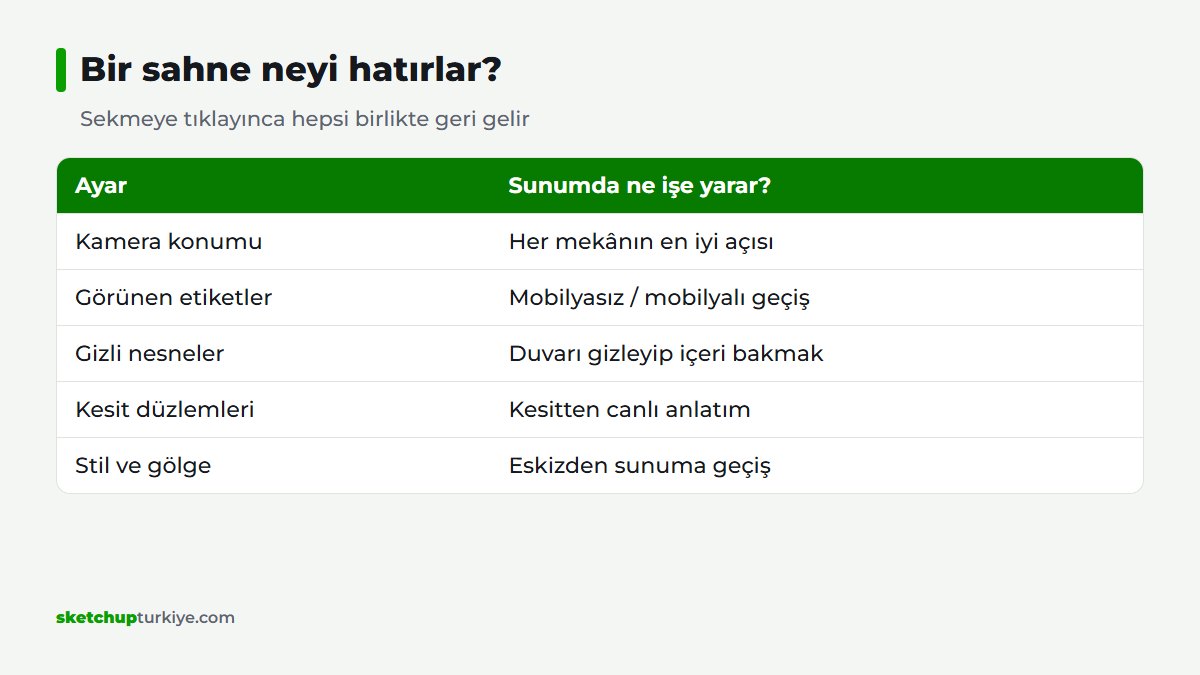
A scene is a record of how the model looks at that moment. It stores the camera position, visible tags, hidden objects, section planes, the style and the shadow settings together. So when you click a scene, the model comes back with all of those view settings.
Animation is the smooth transition between these scenes. SketchUp moves the camera from one scene to the next by itself. That way you get a moving presentation without opening a separate animation program.
You see the scenes as tabs at the top of the window. For detailed settings, go to Window › Default Tray › Scenes. The panel sits in the tray on the right with the other panels.
How do you add a scene in the Scenes panel?
First bring the camera to the angle you want. Then click the plus icon in the Scenes panel. SketchUp adds the new scene and opens a tab at the top. Next, right-click the tab and give it a name with Rename. For example, “Entrance”, “Living room” or “Kitchen” is enough.
If you do not like the angle later, you do not need to delete the scene. Fix the camera, right-click the tab and choose Update. The scene then remembers the new angle.
The panel also has a “Properties to save” section. Here you choose which settings the scene stores. For example, you save only the camera and leave the style free. This fine-tuning is especially useful when you separate technical views from presentation views.
SketchUp scene animation together with tags
Scenes also remember which tags are visible. So you can set up two scenes, “unfurnished” and “furnished”, and have the furniture appear during the transition. The client watches the move from an empty room to a furnished one live. We explained how to organize tags in our organized model with tags guide.
How do you set the transition time for SketchUp scene animation?
With the default settings, transitions are sometimes too fast. To fix this, open View › Animation › Settings or Window › Model Info › Animation. Two settings are waiting for you here.
Scene Transitions sets the length of the transition. When you make it longer, the camera moves more calmly. Scene Delay sets how long each scene stays on screen. For example, pausing a few seconds on the living room scene gives the client a chance to look at the details.
But very long transitions make the presentation boring. In our lessons we recommend a short transition and a slightly longer delay. That way the walkthrough stays smooth, and each space stays in view long enough.
The order of the scenes also shapes the story. You drag the tabs to change their order. Let the exterior come first, then the entrance, then the living room and kitchen. This order makes the client feel like they are really walking through the house.
How does SketchUp scene animation become an MP4 video?
To play the presentation inside SketchUp, choose View › Animation › Play. Playback starts from the selected scene. But the client is not always with you. In that case, you send the animation as a video file.
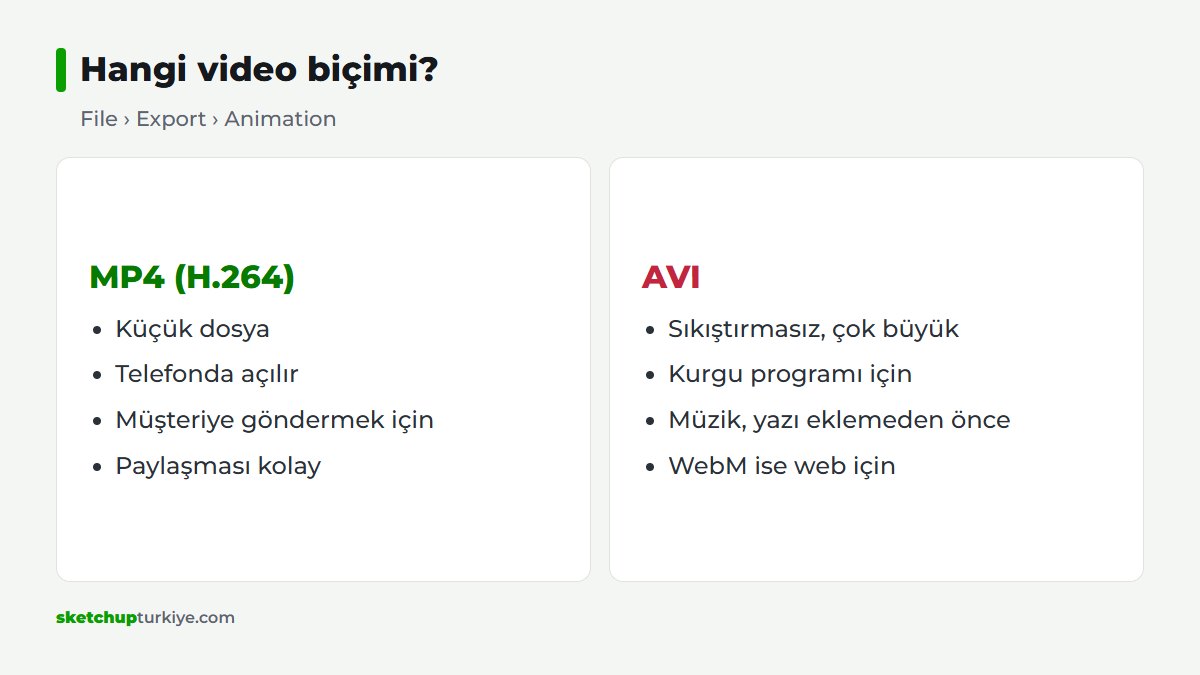
The File › Export › Animation menu turns the scenes into a video file. According to SketchUp’s help page, you can choose MP4 (H.264), AVI and WebM formats. MP4 gives a small file that is easy to share. AVI is much larger. But if you are going to edit the video, AVI is the better choice.
If you like, you can also export the animation as an image sequence. This option saves each frame as a separate image. Then you put the frames together in an editing program and add music and text. For details, see SketchUp’s scene animation help page.
Step by step: a client walkthrough with SketchUp scene animation
We follow the order below before every presentation. Scenes you set up once keep working for you after revisions too.
- Tidy up the model; check the tags and groups.
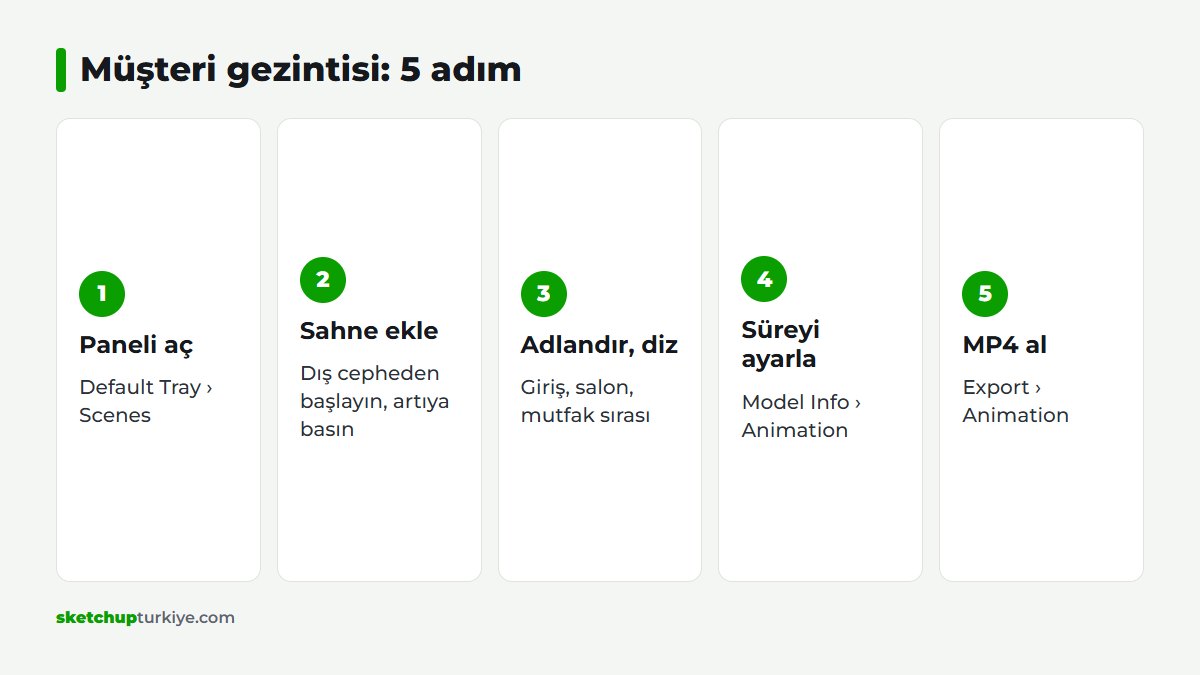
- Open the panel with Window › Default Tray › Scenes.
- Starting from the exterior, add a scene for every important angle.
- Name each scene after its space.
- Arrange the tabs in walkthrough order.
- Set the transition and delay time in Model Info › Animation.
- Watch it from start to finish with View › Animation › Play.
- When you are happy, export an MP4 with File › Export › Animation.
When a revision comes in, you change only the model. The scenes keep the same angles. That way you export the new video again in a few minutes. Revisions are no longer a nightmare.
How do scenes strengthen a presentation?
A good walkthrough shows the client life, not a drawing. A camera that moves like someone walking in through the door explains the space even to a client who cannot read a plan. So try to set up scenes at eye level. A single bird’s-eye overview scene is enough.
Scene names also help you in the presentation. When the client says “let’s go back to the kitchen” in the meeting, you click the tab. You no longer have to hunt with the mouse. We also explained how to find parts inside the model in our Outliner guide.
We covered the impact of moving presentations separately in our architectural animation article. If you want photorealistic frames, you can render from the same scenes with our free render engine, Render Fun.
From scenes to presentation boards
The images you get from scenes are also the raw material for presentation boards. Our browser-based Presentation Studio tool arranges these images into a board set. In the example on the store page, page layout that takes hours by hand drops to about fifteen minutes.
Common mistakes in SketchUp scene animation
We often see the same mistakes in our lessons. The first is setting up a scene and then forgetting to update it. If you fix the camera and do not choose Update, the scene stays at the old angle. So get into the habit of right-clicking the tab after every change.
The second mistake is setting up scenes from angles that are too close to each other. When the camera slides between two similar angles, the walkthrough feels like it is standing still. Instead, show something new in each scene. For example, go from the entrance to the living room, and from the living room to the view in front of the window.
The third is moving the camera through walls. If there is a wall between two scenes, the camera passes through it. You solve this by adding an in-between scene at the door. That way the camera goes through the door and the walkthrough flows like a real walk.
Finally, check the shadows too. A scene also stores its shadow settings. So a scene you set up with morning light looks different when you switch to the midday setting. Before the presentation, play the whole walkthrough once from start to finish and check the light in every scene.
Frequently asked questions
I added a scene, so why does the camera go back to the old angle?
After changing the camera, you need to update the scene. Right-click the tab and choose Update.
How do I skip a scene in the animation?
In the Scenes panel, uncheck the scene’s “Include in animation” box. The scene stays in the list but is left out of the animation.
Why did the video file come out so large?
Most likely you chose the AVI format. For sharing, choose MP4 and lower the resolution to what you need.
A messy walkthrough makes even a good design look weak. Tonight, set up four scenes in your current project: the exterior, the entrance, the living room and the kitchen. Then set the transition and export an MP4. Time is your most expensive material; do not spend it hunting for camera angles in the meeting.