Lumion 12 Course 01: Getting Started with the Lumion 12 Interface

The Lumion 12 interface looks crowded when you first open it, but it is made of a few core sections. In this lesson we start our Lumion 12 course and walk through the start screen from top to bottom. New project, example projects, save options and the performance test are the topics of this first lesson. We put together a short roadmap for anyone new to Lumion or moving up from an older version.
 YouTube
We recorded this lesson in 2022 with Lumion 12. The layout of the start screen has changed in newer Lumion versions. But most of the sections here still exist with similar functions in newer versions. (The video is in Turkish; this guide walks through the key steps in English.)
In this video
- We briefly assess the difference between Lumion 11 and 12.
- We introduce the main sections of the start screen.
- We open an example project and look at its effects.
- We look at the Save and Save As options.
- We measure our computer with the performance test.
- We change the interface language.
What changed between Lumion 11 and Lumion 12?
When we recorded the video, there wasn’t a huge difference between the two versions. Both versions also shared a drawback. The program used the graphics card very heavily. So on a weak graphics card, heavy scenes started to stutter.
Competing render engines were developing fast at the time. Programs like Twinmotion, for example, stood out with dynamic features. So we were expecting Lumion to improve performance in later versions.
Lumion 12 interface: the start screen
When Lumion 12 opens, you see the start screen. It has a few main options:
- Creating a new project
- Loading a previously saved project
- Opening example projects
- Save and Save As
- Performance test
There is also a language option at the top of the screen. If you want to use a language other than English, you can change it here.
Exploring the Lumion 12 interface with example projects
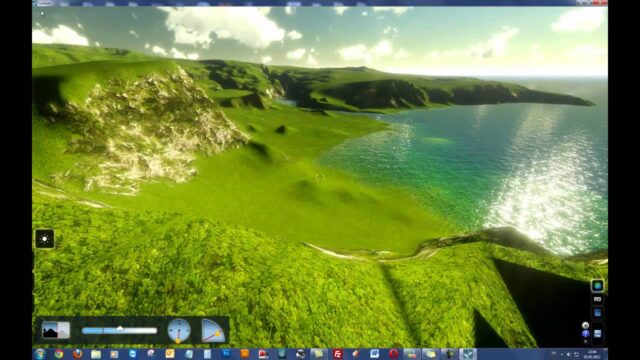
The example projects section is one of the fastest ways to learn. In the video we click an example project and wait for it to load. The scene has a ready-made environment, lighting and effects setup.
This project also has previously saved camera views. When you click a view once, the program refreshes the preview. That way you can instantly see different render examples from the same scene.
Adapting an example project to your own model
There’s a technique beginners often use. They delete the building in the example project and put their own model in its place. That way they benefit from all the ready-made effects. This method is a good start.
But it isn’t enough on its own. Don’t expect a quality result without setting up the materials of your own model. You should experiment with parameters like reflection, refraction, shadow and contrast yourself. In other words, the ready-made scene gives you a skeleton, but you still do the real work.
Lumion 12 interface: save options
When you go back to the start screen, you see the save options. The save project button stores the open file. Save As copies the current project under a new name. We recommend making a backup with Save As before important experiments.
Lumion 12 interface: the performance test
The performance test section shows how well suited your computer is for Lumion. When you start the test, you get separate measurements for graphics card memory, the processor and system memory. The program compares the results with a line that shows the recommended value.
The closer your values are to this line, the better your performance. Our system passed the recommended level. Still, keep in mind that you may get stuttering in projects with many effects and lots of content. Large numbers of objects and high reflection settings in particular push the editor hard.
A short note on hardware
Lumion puts a heavy load on the graphics card. So a strong graphics card directly shapes your Lumion experience. We recommend checking the system requirements on the official Lumion website. And if you’re thinking of building a render computer, our render computer article will guide you.
What’s in the next lessons?
In this first lesson we only got to know the interface. In the next parts we cover the settings window, placing objects and effects. We collected all the parts on our Lumion course page. Before you bring your model in, also take a look at our article on moving files from SketchUp to Lumion.
Summary
In this lesson we introduced the Lumion 12 interface and the start screen. We briefly discussed the difference between Lumion 11 and 12. We saw how example projects speed up learning. We looked at the save options and the performance test. Finally, we showed where to change the interface language.
Frequently asked questions
How do I change the Lumion 12 interface language?
The language option is at the top of the start screen. You can pick any of the supported languages.
What does the performance test do?
It measures graphics card memory, the processor and system memory. By comparing the results with the recommended value, it shows how suitable your computer is for Lumion.
Can I use an example project with my own model?
Yes. You can delete the example building and add your own model. But you’ll need to redo the material and lighting settings for your model.