Realistic Visualization with Enscape

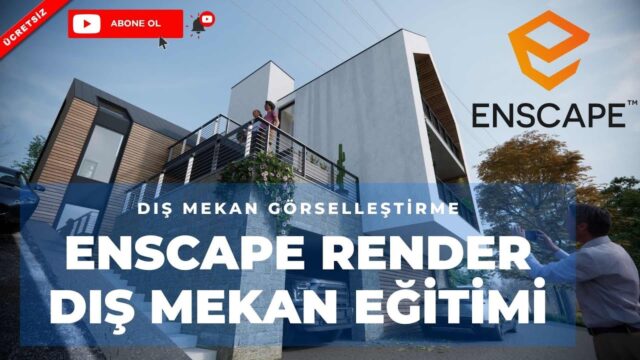
Here is our Enscape exterior visualization lesson, built around what’s new in the just-released Enscape 3.2. Enscape has become one of the key render engines in visualization. Enscape 3.2 also brings new features that make our work easier. Watch the video to see these new features and how to get a realistic result:
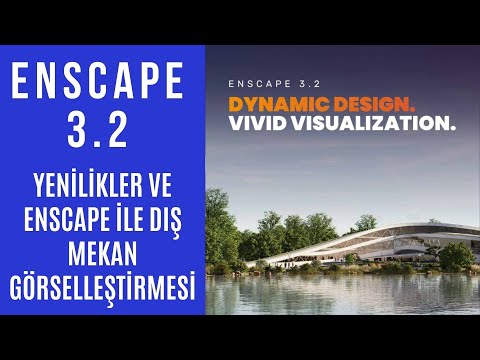 YouTube
What’s in this video?
In this long lesson we cover the new features in Enscape 3.2 through an exterior scene. Instead of explaining the new features one by one, we use them inside a real visualization job. That way you see directly where each new feature will help you. (The video is in Turkish; this guide walks through the key steps in English.)
According to the video description, we also analyze the render image from the lesson together with you. The description also mentions our post on choosing a render engine based on your needs. The description has no chapter timestamps, so we suggest watching the video side by side with your own scene.
Who is it for?
The video runs about 67 minutes. It is a long lesson, but it gives you the chance to follow an exterior project from start to finish.
- Architects who want to get realistic exterior images quickly from a SketchUp model
- Users of the previous version who want to see what’s new
- Students trying to choose a render engine
- Designers preparing villa, housing or landscape presentations
Why is exterior visualization easy with Enscape?
Enscape is a real-time render engine. So any change you make to the model in SketchUp shows up right away in a separate window. That makes testing light, materials and the camera very fast.
This speed is especially valuable outdoors. The sun’s position, the sky and the surroundings change the result a lot. Comparing several different times of day or angles within minutes makes it easier to find the right shot.
What’s more, Enscape doesn’t need a separate export step between the model and the render. While you keep working in SketchUp, the image changes with you instantly.
Light and surroundings in an exterior image
A good exterior image is more than the building. Trees, ground, sky and human figures add scale and life to the scene. That is why we also take time to set up the surroundings after finishing the model.
On the lighting side, the sun’s angle is decisive. For example, at noon you get hard shadows, while in late afternoon you get a warm, soft mood. Shadows falling on the facade also make material textures stand out far more.
In the video we build this balance in one scene. In your own project, you can follow the same logic: first the light, then the surroundings, and the details last.
Before you watch
Basic SketchUp modeling knowledge is enough to follow the lesson comfortably. That said, an organized model makes your job much easier. For example, giving groups and layers meaningful names lets you find what you need right away during rendering.
Real-time engines use the graphics card heavily. So we suggest checking in advance whether your hardware meets the program’s recommendations. For the basics on the SketchUp side, the SketchUp Help Center is also a good start.
Trying it in your own scene
- First check the model’s scale and material names.
- Then try a few different times of day by changing the sun angle.
- Keep the camera close to eye level and save a few shots.
- Finally, compare the shot you like with the analysis in the video.
These steps don’t replace the video. But they make it clear what to look for while you watch the lesson.
Related lessons
- High-quality exterior visualization lesson: another exterior scene with the same engine.
- Exterior render with version 3.1: the features of the previous version.
- Which render engine?: a comparison of two popular engines.
- The easiest render engines for architecture: options you can learn quickly.
- Our render guide: all our render content on one page.
Frequently asked questions
Is Enscape only useful for exteriors?
No. Enscape is an engine we also use often for interior images, but in this lesson we focus on exteriors.
Does it make sense to watch this lesson before upgrading to the new version?
Yes, because the logic of setting up an exterior scene stays largely the same from version to version. Seeing the new features also makes your upgrade decision easier.
Do I need to edit the Enscape image afterward?
It isn’t required. Still, many designers give the image a final pass in a photo editing program for small color and contrast fixes.
The lesson is long, so where should I start?
You can watch the video in sections. Trying one topic in your own model in each session makes a long lesson much more productive.