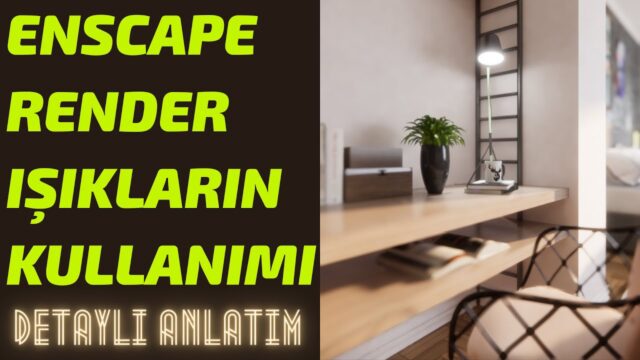
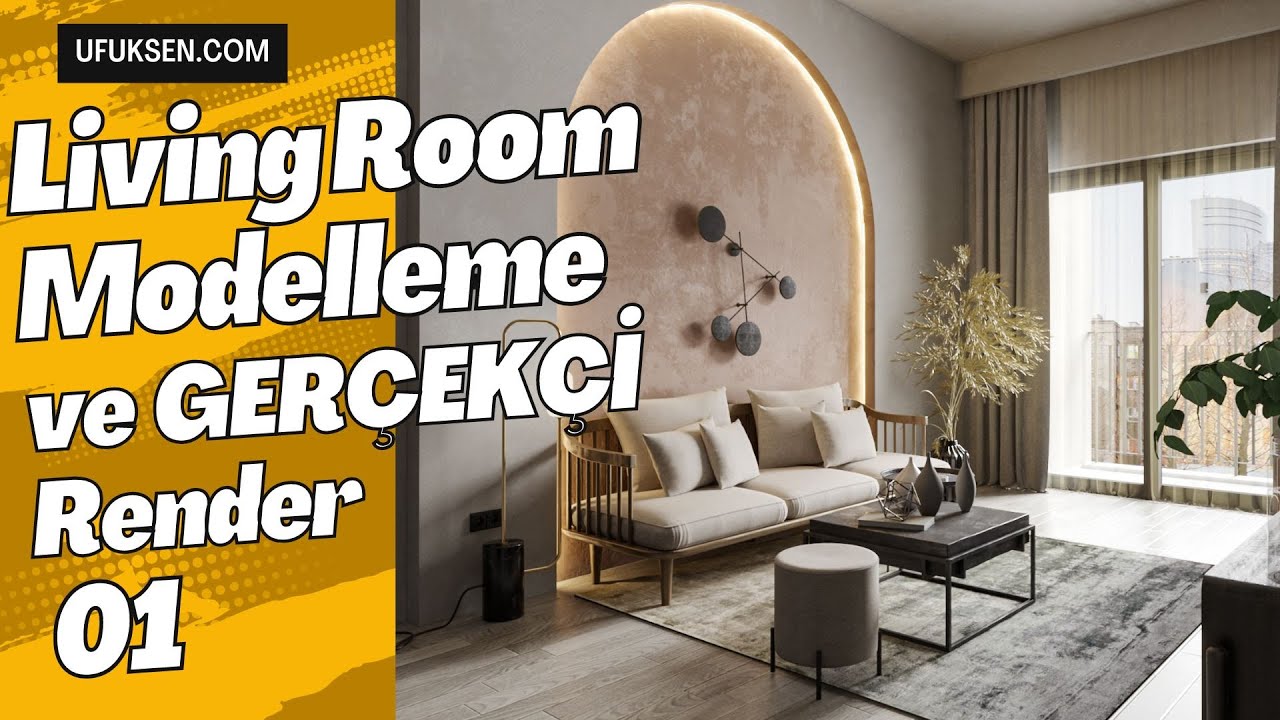
High-Quality Rendering in Enscape 02: PBR Texture Maps

The secret of a realistic surface is PBR texture maps and light working together correctly. In this second part of our high-quality Enscape render series, we focus on two topics. The first is the soft light coming in through the windows, and the second is the texture channels we connect to a wooden door. We recorded the lesson in 2022; the Enscape interface has changed a little since then. But the logic we explain still holds today.
 YouTube
What’s in this video?
- Placing small area lights in the window openings
- Matching the background with the interior ambience
- Connecting albedo, normal and roughness channels to a wooden door
- Adjusting texture size and bump amount
- The outline setting and 4K output
- Why it matters to build your own model archive
Soft light coming through the windows
At the end of the previous part, we placed light sources in the window openings. Here, we arrange them as small squares in four rows, because a single large area light lights the interior harshly. With small squares, the light comes in more diffused and softer. In the end, the earlier dark image gives way to a softer brightness. (The video is in Turkish; this guide walks through the key steps in English.)
Next, in the Visual Settings window, we look at exposure, rendering quality and image contrast. In the Atmosphere section, it is up to you to raise or lower the sun’s effect. But watch out for one rule. If there is a sunny HDRI in the background and you light the interior like an overcast day, the image looks inconsistent.
What are PBR texture maps?
PBR means physically based materials. In this approach, instead of a single image, we use several maps, each with its own job. Albedo gives the base color. The normal map imitates the bumps and dents on the surface. The height map strengthens the relief. Roughness sets how glossy or matte the surface will be.
Thanks to this separation, the wood grain comes alive as light touches it. For example, when light comes from the side, the normal map produces small shadows. The roughness map makes only the polished areas shine.
Connecting PBR texture maps to a wooden door
At minute 4 of the video, we download a 4K wood texture set. The set has a separate file for each channel. We use this structure in our own free texture archive too, because ready-made libraries sometimes cause problems.
Then we pick the door material with the eyedropper and open the Enscape material editor. We load the base color file into the Albedo channel. At first the texture looks far too large, so we set its size to 44. Then, in the Bump section, we choose the Normal Map type and connect the normal file. In the Reflection channel, we use the roughness file.
When we push the bump amount to the maximum, the effect looks exaggerated. So we bring the value down to a medium level. That gives the wood a subtle texture, like a real door. If you apply the same method to the other materials, the overall quality of the scene goes up.
Changing the tone with PBR texture maps
Did the floor material come out a bit light? You don’t need to look for a new texture. Pulling down the brightness slider in the Albedo section darkens the tone. That way, you get two different floors, light and dark, from the same texture. This method also gives you variety without bloating your library.
Camera, outline and 4K output
The camera angle directly decides the impact of the image. We covered this in detail in our earlier lessons, and the same rules apply in every render engine. Before output, we choose Ultra HD, that is 4K, in the visual settings. We also keep the outline value in the style section between 1 and 2 percent. This thin line makes the wall edges stand out.
When the render finishes, we open the file and look at the result. In the video, we also talk about how a 4K image of this quality would take hours in a classic render engine.
Time and your archive
In visualization, what really decides quality is the time you put in. We recommend treating the render engine like a toy and experimenting constantly. Also build your own model and texture archive. Otherwise, you will spend hours looking for an armchair on every project.
Summary
In this lesson, we softened the window light with small area lights. Then, with PBR texture maps, we connected the albedo, normal and roughness channels to a wooden door. To learn material logic in more depth, see our creating professional PBR materials lesson. If you are curious about the physics behind it, the how materials work physically article will also help. For Enscape’s current material features, take a look at the official Enscape page.
Frequently asked questions
Which channels are essential for PBR texture maps?
Use at least albedo, normal and roughness. A height map strengthens the relief even more.
Why does the texture look too big?
Most likely, the texture size doesn’t match the model’s dimensions. You fix it by changing the size value in the material editor.
What does the outline setting do?
It adds a thin line to edges and makes wall joints stand out. Low values such as 1–2 percent are enough.