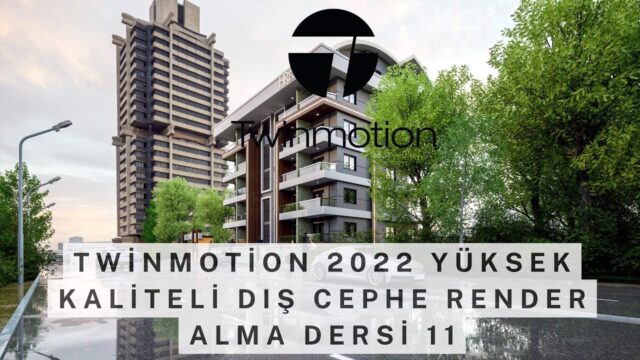
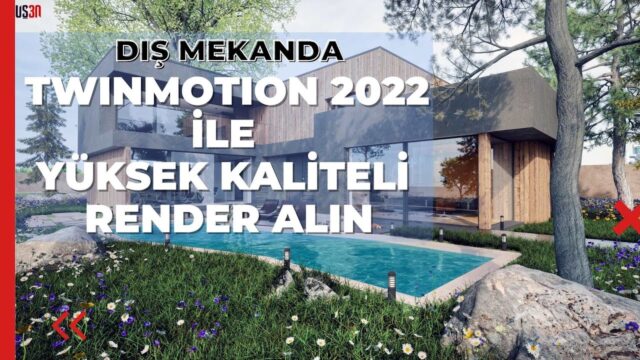
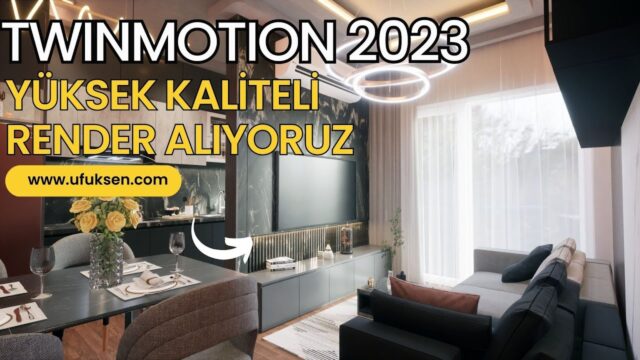
Twinmotion Interior Visualization Tutorial

Our Twinmotion interior visualization series is a playlist of seven lessons. In the first four lessons we visualize an interior step by step. Then we move on to lessons on reflection probes and photo effects. In this article we share what the series covers and the points we pay attention to in interiors.
Interiors need more care than exteriors. Light is limited, the camera is close to objects and small mistakes are instantly visible. This series is a roadmap for putting Twinmotion’s speed to good use in interiors as well.
Twinmotion interior playlist
You can reach all the lessons from the list below. The first lesson is about six minutes long, so you get off to a quick start.
 YouTube
Lessons in the series
There are seven videos in the list. Each lesson builds on the previous one. (The video is in Turkish; this guide walks through the key steps in English.)
- Lessons 01–04: We set up the interior scene and visualize the space step by step with material and lighting settings.
- Lesson five, Reflection Probe: We explain the reflection probe object, which improves reflections locally.
- Photo effects in lesson six: We show how to finish the final image with effects.
- Last lesson, Twinmotion 2022: We try a quick interior render with a newer version.
Preparing a Twinmotion interior scene
A good interior image starts with a well-organized model in SketchUp. Before exporting the model, give the walls thickness and define the window glass with a separate material. Also give every material a meaningful name. That way, when you swap materials in Twinmotion, you know right away which surface is which.
Clean up unnecessary geometry too. Hidden back faces and very heavy furniture models slow the scene down. Use ready-made objects from the Twinmotion library instead.
How should you set up interior lighting?
In an interior, the main light usually comes through the windows. So set the sun’s direction and time of day to suit the space. Then add artificial light sources to the corners that stay dark. But do not make the lamps too strong, or details will get lost.
Color temperature also sets the mood. Warm tones look inviting in a living room or bedroom. In kitchens and bathrooms, a whiter, cleaner light works well.
Why does the reflection probe matter?
In Twinmotion interior scenes, reflections sometimes come out weaker than expected or wrong. Glossy floors, mirrors and metal surfaces make this problem obvious. A reflection probe helps calculate the reflections in a given area more accurately. In lesson five you’ll see how we place this object in the scene.
Place the probe in the middle of the space and in the area where reflections matter. In large spaces, check the result with a single probe first. Then add a second probe if needed.
The finishing touch with photo effects
In lesson six we finish the final image with effects. Exposure, contrast and color settings set the feel of the image. Depth of field and a light vignette also strengthen the focus. But do not overdo the effects, because too much makes the image look artificial.
As a general method, get a natural look first. Then add effects in small steps and check the result at each step.
Common interior mistakes
The most common mistake we see is leaving the space empty. A room with little furniture looks cold and lifeless. Books, plants, textiles and small decor objects make a space feel lived in. Another mistake is giving every surface the same glossiness. In a real room, matte and glossy surfaces sit side by side, and that balance makes the image look natural.
After the Twinmotion interior series
The last lesson in the series also has its own article on our site. For quick results in a newer version, go to our easy rendering with Twinmotion 2022 article. If you are new to the program, we recommend laying the groundwork with our Twinmotion course set first.
For the current version and system requirements, visit Twinmotion’s official website. This real-time program runs much more smoothly with a powerful graphics card.
From here, continue with our Fast Visualization with Twinmotion 2022 article, then move on to Realistic Renders with Twinmotion 2022. To see every topic in one place, check our SketchUp render guide.
Frequently asked questions
Is Twinmotion good for interior visualization?
Yes, with the right lighting and material settings it gives very good results in interiors too. Tools like the reflection probe improve reflection quality.
In what order should I watch the series?
Watch the first four lessons in order, because we work on the same scene. Lessons five and six cover specific topics on their own.
Why does my interior image come out dark?
Because the light comes only from windows and lamps, an interior easily stays dark. Increase the exposure and add small light sources to the corners.