SketchUp Indigo Tutorial Set


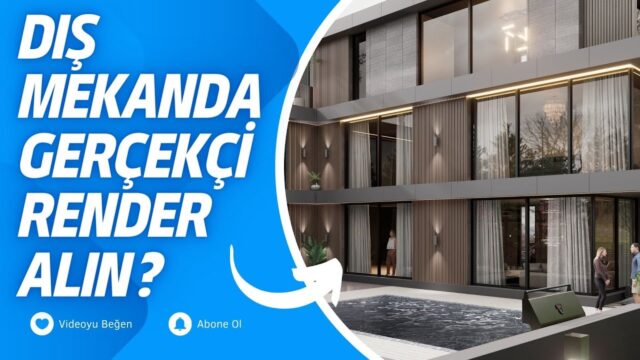
In our SketchUp Indigo tutorial set, we introduce a new render engine in four short lessons. Indigo is an unbiased render engine that calculates light in a physically accurate way. In this article we share the set’s playlist and walk through each lesson separately. That way you can see what you learn in each lesson before you watch.
SketchUp Indigo tutorial set playlist
All four lessons are in the playlist below. We recommend watching them in order, but each one also makes sense on its own.
Lesson 01: Introduction to SketchUp Indigo
In the first lesson we get to know how Indigo works. Unbiased engines keep calculating the light and colors in the scene until you stop them. So the longer the render runs, the less noise there is and the cleaner the image gets. That is why render times can get long on a weak computer. (The video is in Turkish; this guide walks through the key steps in English.)
Another feature of Indigo is that it uses the graphics card. When we made the lesson, we recommended CUDA-capable cards. But according to the official website, Indigo 4’s GPU engine is now OpenCL-based. That means it runs on both Nvidia and AMD cards. Its user-friendly menu also helps you get used to the program quickly.
Lesson 02: Assigning materials
In the second lesson we see how to assign materials to objects easily. Like V-Ray, Indigo works well with SketchUp’s material library. If you give a surface glass or metal in SketchUp, for example, the material carries over to Indigo with similar properties.
For fine-tuning, you use Indigo’s own material panel. Indigo also adds a slight gloss to materials by default. So check the surfaces you want to stay matte separately.
Lesson 03: Using objects as light sources
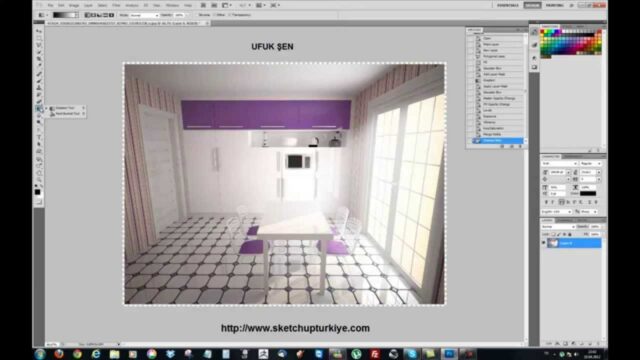
In the third lesson we turn any object into a light source. With this method you give the object a light-emitting material, and the object lights the scene. In interiors it is a very practical solution for ceiling fixtures or hidden LED strips.
When we first made the lesson, we said Indigo had no separate light tool. Today the official website lists area lights, object lights, sun and sky, HDRI and IES options. Still, object lights remain one of the fastest and most flexible methods.
Here is an important tip: no matter how strong the sun is, use fill lights indoors. In scenes without fill lights, render time grows for no reason.
Lesson 04: Adding an HDRI in SketchUp Indigo
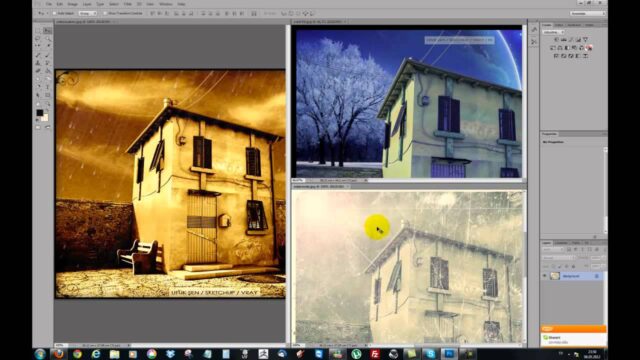
In the last lesson we add an HDRI file to the scene. An HDRI is a panoramic image that gives the scene light and reflections along with its surroundings. In Indigo, selecting an HDRI file and setting its direction is very quick. So you can try different environments in a short time.
The difference an HDRI makes is especially clear on glass and metal surfaces. These surfaces reflect their surroundings, and the HDRI gives them a natural richness.
When you choose an HDRI, think about the mood of your scene. A clear sky gives a lively, bright result. An overcast HDRI, on the other hand, produces softer shadows and calmer light. So try the same scene with two different HDRIs and compare the results.
SketchUp Indigo installation and resources
Indigo connects to SketchUp through an extension. You will find the installers and documentation on the official Indigo for SketchUp page. If you are curious about how extensions work in general, see our what is a SketchUp plugin article.
For a short summary of the set and the HDRI walkthrough, you can also see our Indigo render tutorial article. If you want to see different engines side by side, our top 5 render engines article will help. To watch the lessons directly on YouTube, go to the tutorial set’s playlist.
Setting up your first scene with SketchUp Indigo
After you finish the four lessons, practice with a small interior scene. A room with one window, an armchair and a coffee table is enough, for example. First assign the materials in SketchUp, then fine-tune them in the Indigo panel. Next, turn an object on the ceiling into a light source to light the scene.
As the last step, add an HDRI and adjust the direction of the light coming through the window. Once the render starts, watch for a few minutes as the image cleans up. That way you see with your own eyes how an unbiased engine works. Also save your different tests under separate names and compare them. You will soon learn intuitively how each setting changes the image.
Frequently asked questions
Which graphics cards does SketchUp Indigo run on?
According to the official website, Indigo 4’s GPU engine runs on Nvidia and AMD cards. Rendering on the CPU is also possible.
Does Indigo have separate light objects?
Yes, the current version has options like area lights, sun, HDRI and IES. Object lights are still very practical for interiors.
Why does the render take so long?
Unbiased engines calculate light in detail, so it takes time. Adding fill lights indoors shortens the time.