Photoshop Multiple Workspaces: Tabs and Arrange Layouts

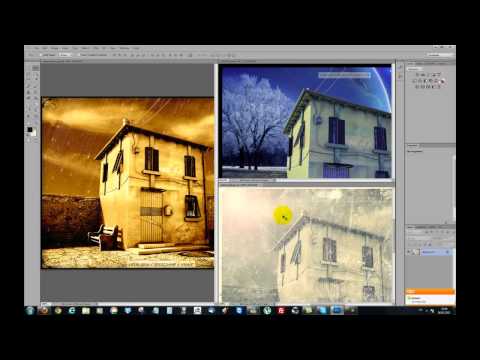
Photoshop multiple documents open in a tabbed layout that lets you work with more than one image at the same time. In this short lesson we open several render images at once, switch between tabs and tile the images side by side. It is a time-saving habit for anyone who does post-production on renders. It is especially useful when you compare different angles of the same project.
 YouTube
We recorded this lesson in 2012. As we say in the video, the tabbed layout arrived with Photoshop CS4. The look has changed a little in newer versions, but the menu names are largely the same. (The video is in Turkish; this guide walks through the key steps in English.)
In this video
- opening more than one image at once,
- changing the order of tabs by drag and drop,
- tiling images side by side with Window > Arrange,
- floating an image in a separate window and docking it back,
- closing a single image or all of them at once.
Opening images for multiple documents
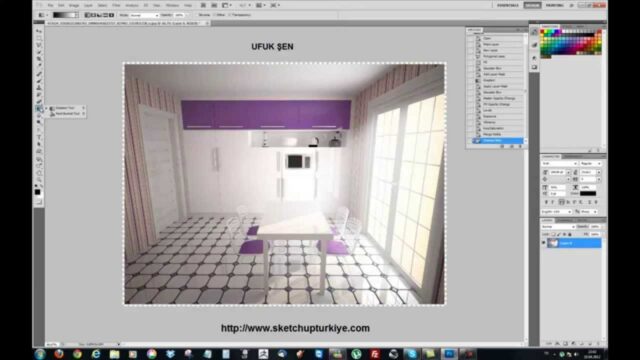
We open the Open window from the File menu. There are three render images in the folder. We select them all by dragging with the left mouse button. You can also multi-select with the Shift key if you like. When you click the Open button, the images line up as separate tabs at the top.
If you open a new image later, it is also added at the end as a new tab. So everything stays neatly in a single window. You switch between images by clicking the tab name.
Changing the tab order
Some images take priority. For example, you want the render you will show the client first to come to the front. Just grab the tab and drag it left or right. That way you set your own working order.
Multiple document layouts: Window > Arrange
At the second minute of the video, we go to the Arrange section in the Window menu. Here there are different ways to place images on screen. For example, you tile two images side by side or one above the other. For three images, there are layouts that keep two on top and one below. There are also options that show one image large and the others small.
To put everything back the way it was, we choose the Consolidate All to Tabs command from the same menu. This command gathers all the images back into tabs.
A small tip for comparing
The same menu also has the Match Zoom and Match Location options. These options show the images side by side at the same zoom and the same position. For example, they are very handy for comparing two different render settings in the same corner.
Floating an image in a separate window
Sometimes you want to keep one image independent of the others. For this we choose the Float in Window command under Window > Arrange. The image leaves the tabs and opens in its own window. There is also a quicker way. If you grab the tab and drag it down, the image again moves into a separate window.
To dock the image back, grab the gray title bar at the top of the window and drag it to where the tabs are. Release when a blue highlight appears. That way the image rejoins the tab layout.
Closing images
There are two ways to close a single image. You click the small x on the tab, or you choose the Close command from the File menu. The shortcut for Close is Ctrl+W. To close all images at once, use the Close All command in the File menu. Its shortcut is Alt+Ctrl+W.
Multiple documents in post-render work
This layout makes a real difference in post-render work. For example, you put the day and evening versions of a render side by side. You can also copy a layer by dragging it from one tab to another. That way you quickly add the same light layer or logo to every image.
For post-render editing steps, take a look at our quick Photoshop edits article. We gathered our other content on the program in our Photoshop article. To get your images right on the render side, our SketchUp rendering article also helps. You can use an engine like V-Ray for SketchUp to produce your render images.
Summary
Working with multiple documents keeps many images in a single window as tabs. Reorder the tabs by dragging, tile them side by side with Arrange and gather them back with Consolidate All to Tabs. Float an image in a separate window if needed. When you are done, close them with Ctrl+W or Alt+Ctrl+W.
Frequently asked questions
Which Photoshop version introduced tabbed multiple documents?
As we mention in the video, the tabbed layout arrived with CS4. It is also in all later versions.
My tabs are scattered. How do I gather them back?
Choose the Consolidate All to Tabs command under Arrange in the Window menu. All the images return to tabs.
How do I close all open images at once?
Choose the Close All command from the File menu, or use the Alt+Ctrl+W shortcut.