Quick Post-Production in Photoshop

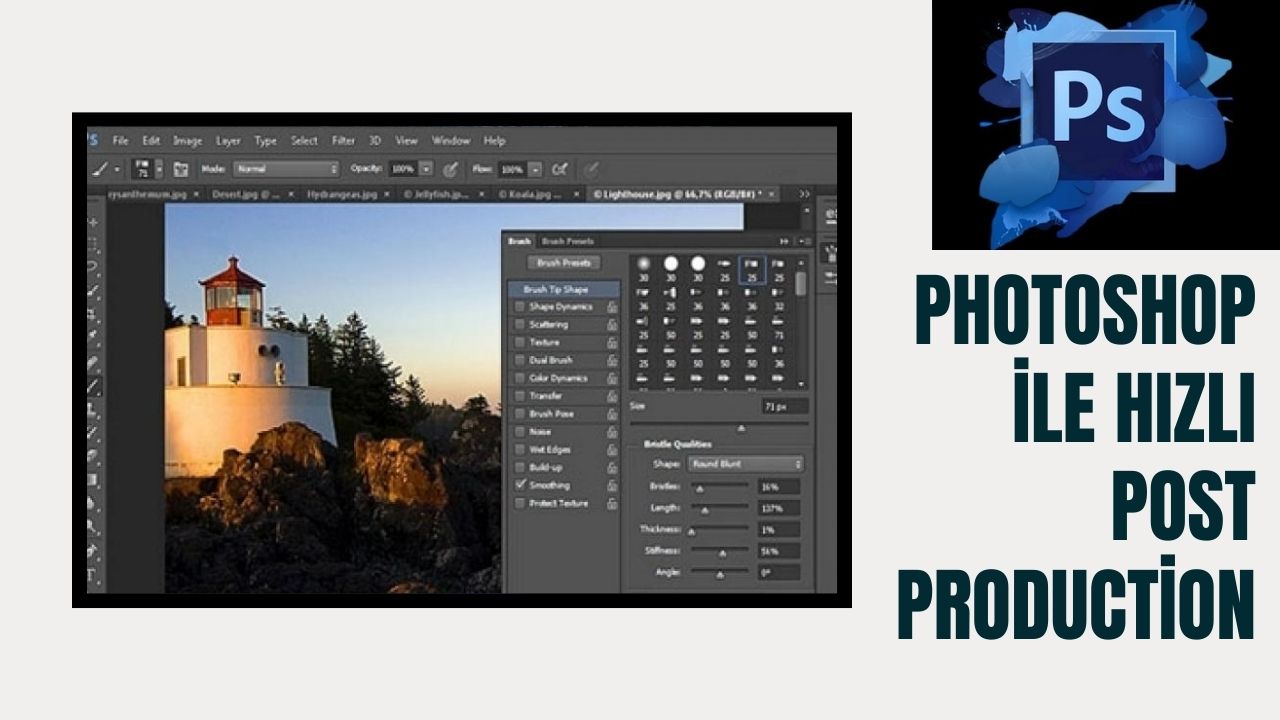
Photoshop has become a tool we reach for after almost every render. It is popular because it handles all kinds of jobs with ease, like adding objects and adjusting colors. But when you do post-production in Photoshop, be careful not to destroy the main composition of your scene. To avoid that, we suggest lowering the opacity of objects you add later if needed. The quality and realism of the objects you add also matter.
In this lesson we make quick post-render edits in Photoshop. Because the render images we get are raw, a Photoshop pass afterwards is a must. To be fair, with a quality render, many engines already give you pleasing images. But when you compare how these images look after Photoshop, you will see the differences. Saturation, contrast, materials and color casts in particular are very easy to handle in Photoshop.
 YouTube
What’s in this video?
In this lesson we make quick Photoshop edits after rendering. As we wrote above, the image that comes out of a render engine is usually raw. With a short post-production pass, the same image looks much more cohesive and vivid. (The video is in Turkish; this guide walks through the key steps in English.)
The video description has no chapter timestamps. The topics we highlight in the description are:
- Why a raw render image needs editing
- Saturation and contrast adjustments
- Fixing materials and color casts
- Comparing the images before and after editing
Who is it for?
The video runs about 7 minutes. So you can watch it on a short break and try it on your own image right away. You don’t need advanced knowledge of the program; knowing how layers work is enough for this lesson.
- Architects who want to add the final touch in Photoshop when preparing renders for a presentation
- Interior designers and freelancers who deliver images to clients on short notice
- Users who have learned a render engine but haven’t moved on to post-production yet
- Students who want to strengthen their portfolio images
Before you watch: the logic of editing renders in Photoshop
Post-production means improving the image without rendering it again. Brightening the light a little, balancing the color or adding people and plants to the scene is much faster at this stage. You don’t wait for a new render for every change.
Photoshop does this job with layers. Keeping each edit on its own layer makes it easy to go back later. With masks, you can also apply an adjustment only to the sky or only to the floor.
The opacity point we mentioned at the start of the article matters here. If an object you added later overpowers the main composition, lowering its opacity or pushing it back a little helps. If you render from a SketchUp scene, you can also check the official Help Center for camera and scene settings.
What we watch for when adding objects to a scene
One of the things we do most often after rendering is adding people, plants or a sky to the scene. But a poor choice of image can spoil even a good render. So we check these points:
- Perspective: the eye level of the person you add should match the camera height.
- Light direction: the shadow and highlights on the object should come from the same direction as the sun in the scene.
- Scale: a person or tree should be the right size relative to doors and windows.
- Quality: low-resolution images or sloppily cut edges stand out right away.
- Balance: added elements should accompany the design, not upstage it.
- Color: bring the tone of the image you add close to the overall color of the scene.
Related lessons
- Quick post-render edits: our article on the same video, organized around the color and contrast order.
- Rendering: the basics of the step before editing.
- Architectural design with architectural rendering: on the role of the image in a presentation.
- Sharing renders on social media: before you share your edited image.
- Our render guide: gathers the other render topics on one page.
Frequently asked questions
Can’t I edit in the render engine instead of Photoshop?
Many render engines offer basic color and exposure settings. But for jobs like adding objects and local retouching, Photoshop gives you a much more flexible environment.
Does post-production mean the render was bad?
No. Even a quality render benefits from small touches. Editing is the last step in making a good image ready for presentation.
How should I store the file I edited?
Always keep the layered working file separate. For sharing or presenting, export a separate copy from it. That way, when a client asks for a change, you don’t have to start over.
How do I know if I’ve overdone the editing?
Put the original render next to it and compare. If familiar surfaces like wood, white walls or the sky have lost their natural look, take a step back.