Quick Photoshop Edits After Rendering

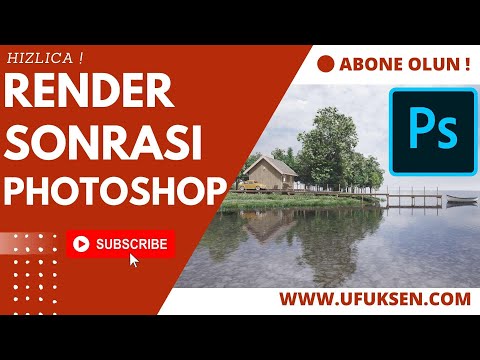
In this lesson, we do quick render post-production in Photoshop. Render images come out raw, so some Photoshop work afterward is a must. In fact, with many render engines, a high-quality render already gives you images that look pleasing. But when you compare how these images look after Photoshop work, you will see there are differences. Saturation, contrast, materials and color casts in particular are very easy to handle in Photoshop.
 YouTube
What’s in this video?
In this short lesson, we do quick Photoshop edits after rendering. Our starting point is simple: the image we get from the render engine is usually raw. Even a high-quality render that looks pleasing improves noticeably with a few small touches. (The video is in Turkish; this guide walks through the key steps in English.)
The video description has no chapter timestamps. The topics we highlighted in the description are:
- Saturation: making colors livelier or calmer
- Contrast: balancing the difference between light and dark areas
- Materials: correcting how surfaces look
- Color cast: removing an unwanted tint spread across the image
- Before and after comparison: seeing the difference the edit makes
Who is it for?
The video runs about 7 minutes. Since it is short, you can watch it during a break and try it on your own render right away. You don’t need advanced Photoshop skills; knowing the basic tools is enough for this lesson.
- Users who feel “something is missing” from their image after rendering
- Architects and interior designers who want to pull their presentations together quickly
- People who would rather do the final retouch in Photoshop than spend hours on render engine settings
- Students who want to strengthen the images in their portfolio
What you need to know: quick Photoshop work after rendering
We call editing after rendering post-production. The aim is to improve the color, light and mood of the image without rendering the model again. That makes it a very valuable step on jobs with time pressure.
When working in Photoshop, it is a good habit to use adjustment layers instead of editing the image directly. That way, you can change or turn off each adjustment later. And you always keep the original render.
Also, if your render engine allows it, saving the image at a higher color depth gives you more room to maneuver while editing. If you render from a SketchUp scene, you can also check the official Help Center for camera and scene settings.
A quick editing order
In our own work, we usually follow the order below. It doesn’t replace the steps in the video, but it gives you a solid framework to start with.
- First, remove the color cast. While a wrong tint is present, the other adjustments also give wrong results.
- Then adjust the contrast. The balance between shadows and highlights sets the sense of depth.
- Next, move on to saturation. Restraint matters here, because overly vivid colors make the image look artificial.
- If a material bothers you somewhere, leave it for last and work only on that area.
- Finally, compare side by side with the original render. If the difference is noticeable but doesn’t jump out, you are on the right track.
Common mistakes
- Pushing saturation too far: wood turns orange and grass turns neon green.
- Overdoing contrast: detail in the shadows disappears and the space looks dark and cramped.
- Applying the same adjustment to the whole image: sometimes only the sky or only the floor needs fixing.
- Saving over the original file: you lose any chance of going back later.
You can avoid most of these mistakes by working with adjustment layers and comparing before and after often.
Related lessons
- Our other article on post-production: it covers the same topic from the angle of adding objects and opacity.
- What does rendering mean?: basic concepts for newcomers.
- How do you render in SketchUp?: the step before editing.
- Sharing renders on social media: before you share your edited image.
- Our render guide: it gathers other render topics on one page.
Frequently asked questions
Does every render need a Photoshop edit?
It isn’t required, but most renders benefit from a small retouch. These few minutes make a big difference, especially for images you prepare for presentations and sharing. Even a small contrast adjustment often pulls the image together.
How long does a quick Photoshop edit after rendering take?
The video runs about 7 minutes, and basic edits usually take just a few minutes. But adding objects to the image or doing local retouching takes longer.
How do I know if I have overdone the edit?
Put the original render next to it and compare. If familiar surfaces such as the sky, wood or a white wall look very different from real life, take a step back.