SketchUp V-Ray (Versions 1.49 to 2.0)


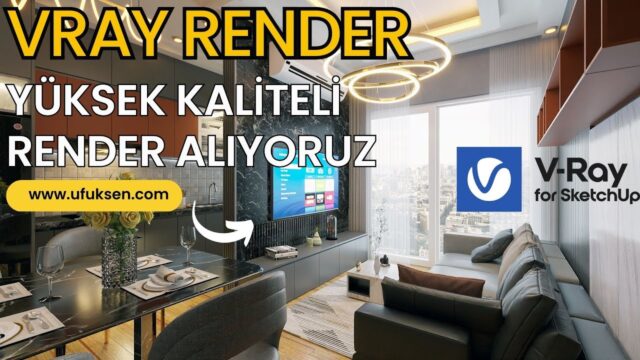
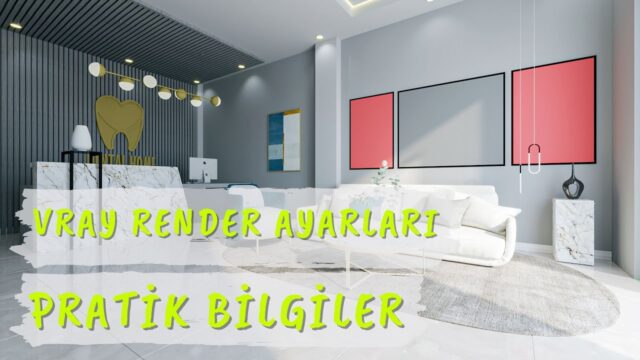
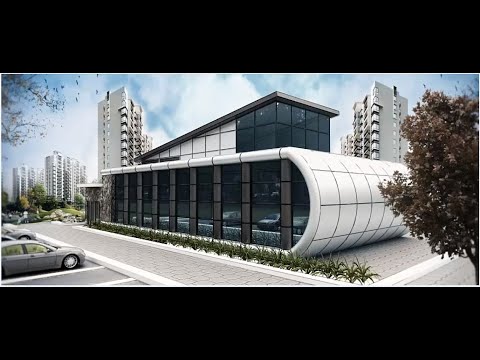
In this post, we introduce a free V-Ray tutorial set. We made this set with SketchUp V-Ray versions 1.49 and 2.0, and in earlier years we offered it as a paid course. Now all the lessons are free on our YouTube channel. Enjoy watching.
Why watch a set made with an old version? Because the core logic of V-Ray hasn’t changed much over the years. How light behaves, how a material is built and how a render is balanced are still the same. In this post, we explain how to get the most out of the set.
Free V-Ray tutorial playlist
The first lesson in the list starts with the V-Ray Dome Light. You can move through the other lessons in order from the list.
 YouTube
Why is this set still valuable?
In newer versions, the interface is more modern and rendering is faster. But the questions you ask when you light a scene don’t change. Where is the light coming from? How soft should the shadow be? How much should the surface reflect? This set teaches you how to answer these questions. (The video is in Turkish; this guide walks through the key steps in English.)
The menus are also simpler in older versions. That simplicity is actually an advantage for a beginner. Your attention goes to the core concepts, not the interface.
What’s in the set?
The playlist brings together lessons on different topics. In general, we cover these areas:
- Lights: setting up ambient light with the Dome Light and getting natural lighting.
- Materials: building realistic surfaces with color, reflection and roughness settings.
- Render settings: balancing quality and time.
- Scene layout: strengthening the image with camera angle and composition.
Also take a look at our mixed V-Ray video series post, where we look at the same playlist topic by topic. There, we explain how to watch the list by subject.
How should you watch the free V-Ray tutorial?
We suggest you watch the lessons in order. But if you need a topic right away, you can jump straight to that lesson. Don’t forget to do a short exercise after each lesson.
First, watch the video from start to finish. Then try the same settings in your own scene. Next, compare the result with the image in the video. This loop makes what you learn stick. You also spot your own mistakes early.
What should you watch for if you use a newer version?
If a newer V-Ray version is installed on your computer, the menus will be in different places. Some settings also have different names. But don’t worry, the concepts stayed the same.
So when you see a setting in the video, focus on what it does. Then look for the setting that does the same job in the new version. For example, light intensity, material reflection and render quality always live somewhere in every version. You can explore the current version’s menus on Chaos’s V-Ray for SketchUp page.
Practical tips for working with an old version
A few small habits make it easier to follow lessons recorded in an old version. First, open the video on a second screen or in a separate window. That way you can test things in your own scene while you watch.
Also don’t copy the numbers in the video one to one. Your scene’s size, window count and light layout will be different. So treat the values as a starting point. Then adjust them in small steps for your own scene.
Finally, save a copy of your file at every important step. For example, create a separate file when you finish the light settings. That way, when you make a mistake, you can easily go back to the previous state.
Other sets from the same period
We also made interior-focused lessons in the same period. Take a look at our V-Ray 1.49 interior lessons, where we explain interior render logic with a ready-made model. We gathered all the content we made with newer versions on our SketchUp V-Ray videos page.
What should you do after the free V-Ray tutorial?
After you finish the set, apply what you learned in a small project. For example, model a simple room and light it yourself from start to finish. Then render the same room at different times of day. Comparing morning, noon and evening light teaches you a lot.
Finally, share your work with us. We always try to answer your questions in our Facebook group and in YouTube comments. That way you improve and also give something back to the community.
Frequently asked questions
Which version was this free V-Ray tutorial made with?
We made the set with SketchUp V-Ray versions 1.49 and 2.0. The core concepts still apply in newer versions.
Is the set completely free?
Yes. This set used to be paid, and we now publish it openly on our YouTube channel.
Can a beginner start with this set?
Yes. The simple interface makes the core concepts easier to grasp. But we suggest you move to a current version afterward.