SketchUp V-Ray Video Tutorials


Our SketchUp V-Ray tutorials series is a free twenty-lesson course for anyone starting V-Ray from scratch. It begins with installation and continues with material, lighting and camera settings. By the end of the series you can produce quality renders from your own scene. In this article we summarize every lesson, grouped by topic.
We made the lessons with earlier versions of V-Ray. That is why the interface looks a little different from today’s versions. But the logic of lighting, materials and camera is still the same. If you build your foundation with these lessons, moving to new versions is very easy.
SketchUp V-Ray tutorials playlist
All the lessons are in a single YouTube playlist. We recommend opening the list and watching the lessons in order.
Installation and introduction lessons (01–04)
- Installing V-Ray (01): We show you how to install V-Ray in SketchUp and where to download the installer. Installation is quite simple, and you will finish it without trouble.
- V-Ray overview (02): The introductory lesson of the series. Here we get to know the general logic of the V-Ray render engine.
- Assigning materials (03): We explain what to watch for when assigning materials in V-Ray. We answered all the questions many users get stuck on in this lesson.
- Paint Bucket and diffuse: First we assign a material with the Paint Bucket tool. Then we look at the settings we change in V-Ray. We also show how to add an image and a color to the Diffuse channel.
- Render prep (04): We explain the prep work you should do before moving on to the render settings.
SketchUp V-Ray tutorials: lighting lessons
- Interior lighting (05): We compare images to show which value gives which effect. If you use the Physical Camera well, you get very good results.
- Interior lighting (06): We cover Rectangle Light, one of V-Ray’s most effective lights.
- V-Ray Sun (07): You learn the logic of the sun, the most important setting in exterior lighting.
- Using HDRI (12): We show how we use HDRI files for lighting in both interior and exterior scenes.
- IES lights (14): We add IES lighting fixtures, which we call decorative lights, to the scene.
- Physical Camera (16): You learn to manage light like a pro, using the same settings as on a photo camera.
Material and channel lessons
- Diffuse channel (08): We look at the channel where we assign color and texture, and where the setting is.
- Bump channel (09): We use this channel to give a material a relief effect so it stands out.
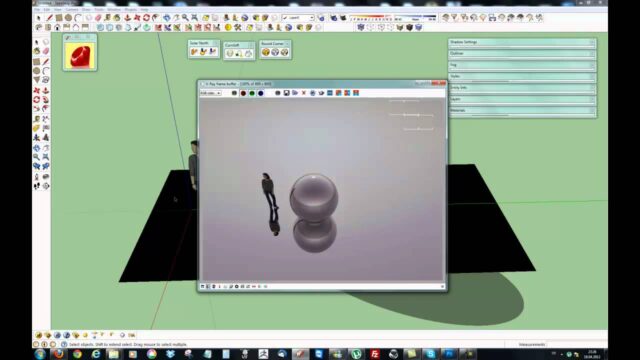
- Making glass (10): We create the glass material you will use in your windows. That gives you realistic reflections on facades.
- Refraction (11): We look at the effect of the refraction setting on glass.
- Making a mirror (13): We prepare a realistic mirror material. This lesson is especially useful for bathroom scenes.
- Detailed bump (19): We take a more detailed look at the bump lesson we covered earlier.
Practice and advanced topics
- Modeling and rendering a coffee table (15): We model a simple modern coffee table, set up its materials and render it.
- Proxy overview (17): You learn the proxy logic, which lets you use heavy models without slowing down the scene.
- Grass with proxies (18): You see how we scatter grass in the scene using proxies. That way even large gardens do not make the model heavy.
- Adding a background image (20): We share a method that makes it easier to add an image to the background of your renders.
Who are the SketchUp V-Ray tutorials for?
The series is ideal for users who have never used V-Ray or have just started. People who are teaching themselves and want to fill in gaps also benefit. We especially recommend watching the material and lighting lessons a few times. These two topics affect render quality the most. (The video is in Turkish; this guide walks through the key steps in English.)
If you are looking for a more up-to-date version of the lessons, see our V-Ray 5 course. For explanations of the menus, our V-Ray menus explained lesson will also help. For the current version of V-Ray and system requirements, check the V-Ray for SketchUp page.
You can share your comments and questions about the video in the comments section below. Enjoy watching!
Getting more out of the SketchUp V-Ray tutorials
After each lesson, set up a short test scene. For example, after the material lessons, try different channels on a cube. Then, in the lighting lessons, light the same cube with different light types. That way you see the effect of each setting on its own.
Also take notes on settings you like, or save them as materials. Soon you will have your own material library. As a result, on new projects you move fast with your saved settings instead of starting from zero.
If you want to practice on the same topic, also read our articles SketchUp Modeling Videos 01 and SketchUp Tips Videos. A broader roadmap is ready in our SketchUp render guide.
Frequently asked questions
Are these lessons useful in newer V-Ray versions?
Yes. The logic of lighting, materials and camera is the same. Only the location and look of the menus have changed.
In what order should I watch the lessons?
Watch the installation and introduction lessons first. Then we recommend moving on to the material and lighting lessons.
How much SketchUp knowledge do I need to learn V-Ray?
Knowing the basic modeling tools is enough. If you understand material assignment and groups, things get easier.