SketchUp V-Ray Menus Explained 01 [Info You Won’t Find Anywhere Else]

Welcome to part one of our V-Ray material settings series, where we explain the menus in Turkish. In this three-part series, we explain what each setting in the V-Ray material menu means, one by one. Our goal is for you to understand the logic of the settings instead of memorizing them. That way you work knowing which value you change and why.
Many users looking for Turkish resources get stuck on the English terms. But most of these terms describe how light behaves in the real world. So once you grasp the logic, the menus become much easier to read.
V-Ray material settings video
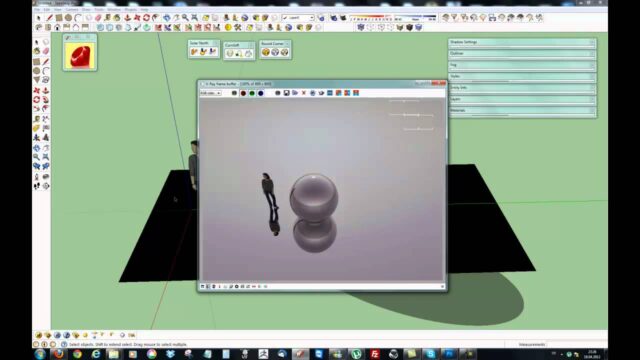
In the roughly seven-minute video, we show the first seven settings on screen.
 YouTube
Topics in the video and timestamps
Click the timestamps below to jump straight to each topic. (The video is in Turkish; this guide walks through the key steps in English.)
- 0:19 | SketchUp V-Ray Diffuse
- 0:43 | SketchUp V-Ray Roughness
- 1:26 | SketchUp V-Ray Reflection
- 1:44 | SketchUp V-Ray Reflection Glossiness
- 2:52 | Use Fresnel
- 3:30 | Fresnel IOR
- 4:19 | Max Depth
What do Diffuse and Roughness do?
Diffuse is the base color of the surface. For example, the red of a red armchair comes from this channel. You can also use an image file instead of a color. That way a wood, fabric or stone texture is placed on the surface.
Roughness sets how matte and dusty the surface looks. As the value goes up, the surface takes on a rougher look, like velvet or plaster. But this setting changes how the color spreads, not the reflection.
The difference between Reflection and Glossiness
Reflection tells the surface how much to reflect. Black gives no reflection at all, and white gives full reflection. Gray tones fall in between.
Reflection Glossiness controls how sharp the reflection is. At a value of 1, the surface reflects as clearly as a mirror. As you lower the value, the reflection gets blurrier. That is why we usually choose a value below 1 for brushed metal or satin paint.
The logic of Fresnel and Fresnel IOR
In real life, when you look straight down at a table, there is little reflection. But when you look at the table from the side, the reflection increases noticeably. The Use Fresnel option mimics exactly this behavior. When it is on, the reflection changes with the viewing angle.
Fresnel IOR sets the strength of this effect. The higher the value, the more the surface reflects, even at a straight-on angle. For example, materials such as glass and water have their own index of refraction. So for realistic materials, we recommend adjusting the IOR rather than turning Fresnel off.
Max Depth and render time
Max Depth limits how many times light bounces between surfaces. Picture two mirrors facing each other. The reflections do not go on forever; V-Ray stops at a set number. Raising the value adds detail, but it also makes the render take longer. In most scenes, the default value is enough.
A practical way to learn V-Ray material settings
Reading the settings one by one is not enough. Always learn by testing. First place a simple sphere and a floor in an empty scene. Then assign a new material to the sphere. Next change only one setting at a time and render a small test.
For example, first move the Reflection color from gray to white. Then lower the Glossiness value from 1 to 0.7. When you put the two images side by side, you see the difference right away. That way the effect of each setting sticks in your mind.
Also save each test image with the name of the setting. Over time you build your own small material library. And in a new project, you do not have to set up the same material from scratch. This method is the shortest path to learning the V-Ray material settings together with their meaning.
Common mistakes
The most common mistake we see is giving every surface full reflection. In the real world, very few materials reflect like a mirror. Another mistake is lowering Glossiness too much and making the render take longer. Blurry reflections need more calculation. Finally, do not raise Max Depth without reason, because the difference is usually not visible to the eye.
The rest of the V-Ray material settings series
This part is the start of the series. In part two we pick up where we left off. To continue, go to part 2 of the series. After that, the closing part is waiting for you.
Also take a look at our SketchUp V-Ray videos page, which collects all our V-Ray lessons in one list. The official English descriptions of the settings are in Chaos’s V-Ray for SketchUp documentation.
Frequently asked questions
Do the V-Ray menus come with a Turkish language option?
The V-Ray interface comes with English terms. That is why we explained the Turkish meaning and logic of the terms in this series.
What value should I use for Glossiness?
For mirrors and glossy glass, choose a value close to 1. On matte surfaces, lower the value and check it with a test render.
Should I turn the Fresnel setting off?
We usually recommend leaving it on. Most real materials reflect differently depending on the viewing angle.