SketchUp V-Ray Menus Explained 03 [SUBSCRIBE]

Here is the third and final part of our V-Ray menus explained series. In the first two parts, we went through the settings in SketchUp V-Ray’s material menu one by one, in Turkish. With this part we complete the series and lay the groundwork for the next big topic: vector parameters.
The aim of the series is simple: to show what each menu means and how to use it. Once you grasp the logic of the settings, you do not need to memorize anything. You can also use the same knowledge easily when you move to different versions.
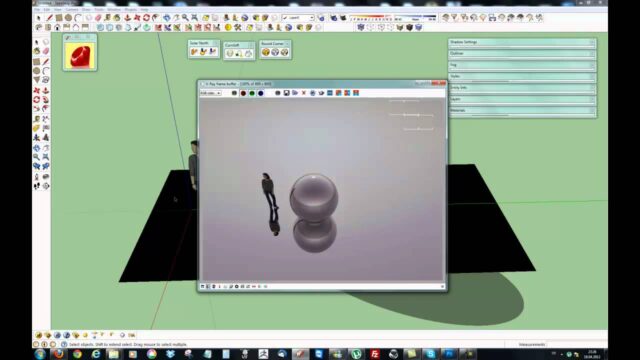
V-Ray menus explained 03 video
You can watch the video, about eight minutes long, below.
 YouTube
In what order should you watch the series?
We recommend watching the parts in order, because each part builds on the previous one. In the first part we explained the Diffuse, Roughness, Reflection, Glossiness, Fresnel and Max Depth settings. Without this foundation, the later settings are harder to interpret. (The video is in Turkish; this guide walks through the key steps in English.)
- Part 1: color, reflection and Fresnel settings
- Part 2: the material menu, continued
- Part 3: the closing part you are reading now
What groups are in the material menu?
The V-Ray material menu looks crowded at first glance. But it actually consists of a few main groups. Each group describes a different relationship between light and the surface.
- Diffuse: the surface’s base color and texture.
- Reflection: the amount and sharpness of reflection.
- Refraction: how light bends in transparent materials like glass and water.
- Opacity: which part of the surface stays visible.
- Bump and normal maps: giving the surface a sense of relief without extra geometry.
Of course, this list is a general framework. The menu layout changes a little from version to version. But the logic of the groups always stays the same.
Why do the V-Ray menus matter?
Many users start out with ready-made materials. That is a perfectly natural start. But you need to know what to do when a ready-made material does not suit your scene. That is where understanding the menus saves you time.
For example, if a wood floor is too shiny, you look for the problem straight away under Reflection or Glossiness. If glass looks too dark, you check the Refraction color. That way you take deliberate steps instead of trial and error.
Common mistakes when working with the menus
The first mistake is changing more than one setting at a time. Then you cannot tell which setting broke what. So change a single value each time and take a small test render.
The second mistake is fiddling with settings without checking the texture scale. For example, if a parquet texture is too big or too small, no reflection setting will make it look realistic. Fix the texture size first, then move on to the menus.
The third mistake is ignoring the light. A material loses its meaning without light. Even the best material looks dull in a dark scene. So always do your material tests under balanced lighting. A simple Dome Light with a neutral HDRI, for example, is enough for this.
Finally, do not forget to use real references. Even a photo of a table or a door handle taken with your phone helps a lot. That way you compare the result on screen with reality, not just with your eye.
What’s next: vector parameters
After the series, we move on to vector parameters. These parameters are among the key commands you need to build versatile physical materials. In other words, after learning the menus, you will learn how to connect them to each other.
If you are curious how materials correspond to the real world, our physical logic of materials article is a good stop along the way. There we explained color, reflection and refraction with examples.
A practice exercise after the V-Ray menus series
After finishing the series, do a small exercise. First, place four simple objects in your scene: wood, metal, glass and fabric. Then build a material for each one from scratch. Try to reach the result without using ready-made materials.
Then compare your results with real photos. Whichever material looks artificial, go back to the relevant menu. This exercise makes the knowledge from the series stick. You will also have taken the first step toward your own material library.
Official sources
The English description of every parameter in the menus is in the documentation you can reach from Chaos’s V-Ray for SketchUp page. We recommend keeping this source at hand along with our lessons.
Frequently asked questions
Which version is the V-Ray menus series based on?
We built the series on the general logic of the material menu. Although the menu layout changes by version, the meaning of the settings stays the same.
Can I skip around in the series?
You can, but we recommend watching in order, because the last parts rely on the basic settings from the first part.
Where can I watch the lessons on vector parameters?
For lessons on this topic, see the V-Ray playlists on our YouTube channel. We share new lessons there first.