SketchUp V-Ray (Version 1.49) Interior Tutorial


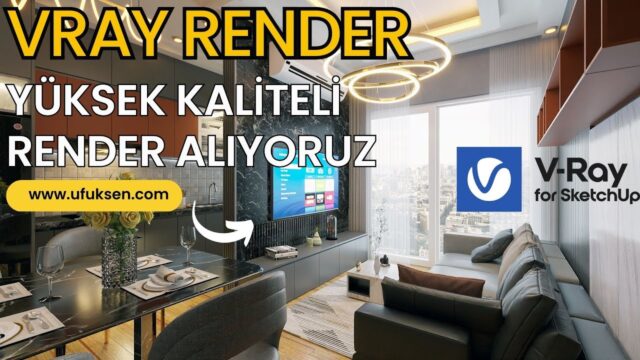
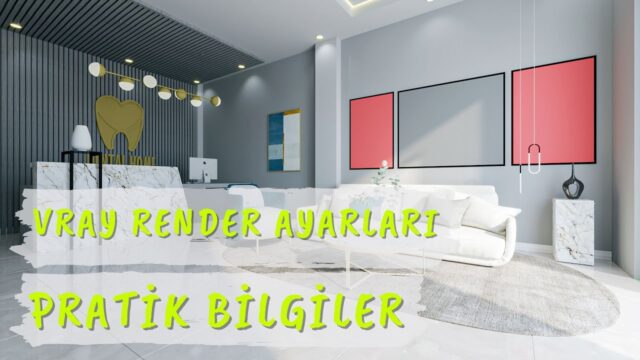
We recorded this series on how a V-Ray interior render works, using V-Ray 1.49 and 2.0. In the series, we create a 3D visualization from a ready-made model. Follow along with the videos and you can build up your own SketchUp V-Ray skills. In this article we sum up why interior rendering is hard and how it works at its core.
Outdoors, the sun and sky light most of the scene on their own. Indoors, light enters through narrow openings and reaches the room by bouncing off the walls. That difference makes interior rendering both harder and more instructive.
V-Ray interior render lesson video
The first lesson in the series is a short introduction of about two and a half minutes. You can move on to the other lessons from the playlist. (The video is in Turkish; this guide walks through the key steps in English.)
 YouTube
How does light travel indoors?
Light coming into a room through a window first hits the floor or a wall. It then bounces off these surfaces to reach the other corners of the room. With every bounce, some of the light is lost and some takes on the color of the surface. That is why a red rug gives a nearby white wall a slight red tint.
Render engines mimic this behavior with indirect illumination (GI). Much of V-Ray’s power comes from this calculation. Without indirect light, the room turns into a dark box. Only the area by the window stays bright.
Core steps for a V-Ray interior render
The general logic we use in the series comes down to a few steps. These steps apply regardless of the version.
- Set up daylight: first adjust the sun and sky, and see the natural light entering the room.
- Boost the windows: add area lights to the window openings if needed.
- Adjust the exposure: balance the overall brightness of the image with the camera settings.
- Set up the materials: start with large surfaces such as the floor and walls.
- Raise the quality: once the settings are in place, render the final image.
Why is exposure so important?
Indoors, the window is very bright while the room itself is relatively dark. A real camera struggles with this difference too. V-Ray’s camera works the same way. So instead of raising the light intensity, you get a far more natural result by adjusting the camera exposure.
For example, if the room looks dark, open up the exposure first. If the window edges blow out to white, bring the exposure down a little. This way you control the overall tone of the image without breaking the lighting setup.
The advantage of using a ready-made model
We did not model from scratch in this series. Instead, we used a ready-made model and focused straight on visualization. This kept the lessons short and kept your attention on the logic of rendering.
In professional projects, we usually take furniture and accessories from ready-made libraries too. We recommend you make use of ready-made models in your own work as well. But watch the file size of the model, because very heavy models increase render time. For example, a single high-poly potted plant can slow down the scene. For objects like this, choosing a lighter version or deleting unnecessary detail speeds up your work.
The upside of learning with an older version
V-Ray 1.49 and 2.0 are old versions today. Even so, their menus are simple, which makes the core concepts easier to see. The relationship between indirect light, exposure and materials works the same way in newer versions. So you can treat this series as a foundation course.
You can find our other lessons from the same period in our free V-Ray 1.49–2.0 set. For the next step, move on to our V-Ray 2.0 interior set.
Common mistakes in a V-Ray interior render
The mistake we see most is trying to fix dark corners by adding lights. The scene then looks flat and artificial. Check the exposure and the indirect light settings first.
Another mistake is making white walls pure white. A pure white surface bounces too much light and makes the image look washed out. Use a very light gray instead. Finally, do a small test render after every change. We cover the general steps of rendering in our article How to render in SketchUp. For up-to-date V-Ray information, visit Chaos’s official page.
Frequently asked questions
Why is a V-Ray interior render harder than an exterior?
Indoors, light comes in through narrow openings and travels by bouncing. That makes indirect light and exposure settings far more decisive.
What should I do if my room renders too dark?
Open up the camera exposure first. If that is not enough, add area lights to the window openings.
Does this series still help with newer V-Ray versions?
Yes, the logic of indirect light and exposure is the same in every version. Only the menu locations are different.