
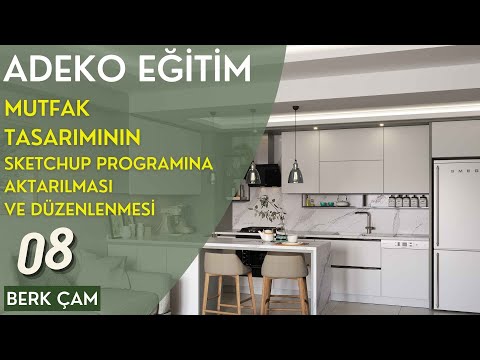
Adeko Tutorial Set: Importing the File into SketchUp 08

In this part of our Adeko tutorial set, we show you how to bring a kitchen design from Adeko to SketchUp by importing it. For more videos, subscribe to our channel and share our videos.
SketchUp Türkiye always works to bring you the highest-quality, most useful information in 3D training.
 YouTube
What’s in this video?
In this part we transfer the kitchen design we prepared in Adeko into SketchUp. As we wrote in the description, the topic of the video is importing the design into SketchUp. In other words, we take the model out of Adeko and get it ready to work on inside SketchUp. (The video is in Turkish; this guide walks through the key steps in English.)
The video description has no chapter timestamps. So we recommend watching the lesson with your own kitchen file open, trying it step by step. The “08” in the title shows that this is the eighth part of our Adeko tutorial set.
Who is it for?
The video runs about 15 minutes. If you designed the kitchen in the earlier parts of the series, this part opens the door to taking the work to the next stage.
- Designers who design kitchens in Adeko and want to continue the presentation in SketchUp
- Technical drafters or sales consultants working at kitchen and furniture companies
- Interior architects who want to present to their clients with renders in particular
- Students who want to learn to use the two programs together
What you need to know about this topic
Adeko is a program we use for kitchen and furniture design. It speeds up tasks like placing modules and dimensioning. SketchUp, on the other hand, offers a flexible environment for freely editing the model, building the surroundings and sending it to render engines.
That is the point of using the two programs together. You build the design quickly in Adeko, then finish the presentation and visualization work in SketchUp. However, every model that moves from one program to another needs a quick check.
For general information on SketchUp’s import options, take a look at the official Help Center.
Why do we move the model into SketchUp?
A kitchen is not a presentation on its own. The client wants to see it with the walls, floor, window and light. In SketchUp it is very easy to build the rest of the space and arrange the scene the way we want.
SketchUp also works with many render engines. That way you can get both a quick preview and a high-quality presentation image from the same kitchen model. On top of that, adding details like countertop accessories, lighting and decor is much easier at this stage.
Checklist after the transfer
In our own projects, we check these points after every transfer. They do not replace the steps in the video, but they help you keep your file healthy.
- Scale: are the model’s units correct? For example, checking a cabinet’s width with the Tape Measure tool takes a few seconds.
- Position: is the model very far from the origin? Models that sit far away make navigation harder.
- Groups: can cabinets and doors be selected separately? Organized groups make the next steps much easier.
- Materials: do the material names make sense? At the render stage, seeing which material belongs to what saves time.
- File size: is there unnecessary detail? Keeping parts that are not visible to the camera simple makes the file lighter.
Next steps in the Adeko tutorial series
This part works like a bridge in the series. In the earlier lessons we built the design, and in the following lessons we edit the transferred model and prepare it for rendering. That is why watching the parts in order lets you see the whole picture.
Related lessons
- Kitchen detailing lesson (07): the part right before the transfer.
- Editing the transferred model (09): the direct continuation of this lesson.
- Preparing the model for rendering (10): the last step of the series before the render.
- Getting to know the interface (01): start here if you are new to the program.
- Our SketchUp tutorials page: basic lessons for the SketchUp work after the transfer.
Frequently asked questions
Why is the model I imported from Adeko so heavy in SketchUp?
Kitchen models contain lots of small parts. Simplifying details that are not visible to the camera and using organized groups usually makes the file lighter.
Why do the materials look different after the transfer?
Each program interprets materials in its own way. So after the transfer you need to rework the materials in SketchUp or in the render engine. The tenth part of our Adeko tutorial series covers exactly this preparation.
Can I change the design in SketchUp after the transfer?
Yes, once the model is in SketchUp you can edit it like any other model. However, making large dimension changes in Adeko and importing again usually gives a more organized result.
Do I need to finish the whole Adeko tutorial set before watching this part?
It is not required, but if you watched the earlier parts you will better understand how we prepared the file. If you are only interested in the transfer, you can start directly with this lesson.


