
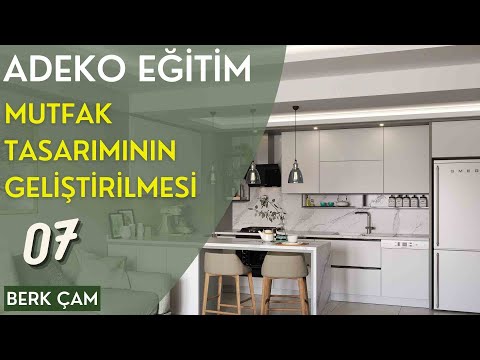
Adeko Tutorial Series: Kitchen Detailing 07

The Adeko kitchen detailing stage turns the kitchen you built from modules into a design that is ready for presentation and production. This lesson is part seven of our Adeko tutorial series. In the earlier parts we placed and developed the modules. In this part we keep detailing the kitchen design.
At SketchUp Türkiye, we keep working to bring you the most useful 3D training. The video runs about eight minutes. In this post we gathered the general logic of detailing and the points you need to watch.
Adeko kitchen detailing lesson
 YouTube
Why is detailing a separate stage?
Once the modules are placed, the kitchen’s overall layout emerges. You can see which cabinet sits where and where the countertop runs. But at this point the design isn’t finished. Without details, the kitchen looks like a row of boxes. (The video is in Turkish; this guide walks through the key steps in English.)
The detailing stage fills exactly this gap. Elements like door styles, handles, countertop edges and lighting give the kitchen character. The checks at this stage also catch possible production mistakes in advance.
What do we cover during Adeko kitchen detailing?
In detailing we usually look at the topics below. The list changes with the scope of the project, though.
- Doors and carcass: First, the door style, color and material.
- Handles: Handle type, position and how they match the doors.
- Countertop: Then the countertop material, thickness and edge details.
- Plinths and cornices: The bottom and top finishing details.
- Appliance spaces: Openings for the built-in oven, hob and fridge.
- Lighting: Finally, under-cabinet lighting over the countertop and lighting inside the cabinets.
Harmony and proportion
The most important thing in detailing is how the elements work together. For example, a modern flat door next to a classic handle looks odd. Likewise, you need a balance between the countertop color, the door color and the floor. When you get this balance, the kitchen reads as a single whole.
Also watch the proportions. For example, the height of the wall cabinets sets the kitchen’s layout. So do the gap between the countertop and the wall cabinets and the alignment of the tall units. We recommend checking these alignments once more at the detailing stage.
Choosing materials and colors
In detailing, the choice of material is the decision that most shapes the kitchen’s character. Matte and glossy surfaces, wood textures and flat colors create different feelings. For example, in a small kitchen light colors make the space feel more open. In a large kitchen, dark tones and wood textures add warmth.
Also think about how well the materials suit daily use. The countertop’s resistance to heat and scratches and how easy the doors are to clean matter to the client. Sharing this information during design builds the client’s trust.
Checks after Adeko kitchen detailing
When the details are done, you need to review the model as a whole. We usually ask these questions:
- Do the doors and drawers hit each other or the wall?
- Do the appliance openings fit the dimensions of the chosen appliances?
- Do window and door swings clash with the cabinets?
- Do all modules share the same door and handle standard?
Do these checks before you transfer the design to SketchUp. Changes made after the transfer need edits in both programs. For Adeko’s latest features, visit the official Adeko website.
Adeko kitchen detailing and the client presentation
Detailing also sets the quality of the design you present to the client. The client usually picks the door color, handle type and countertop material from the image. So building the details close to reality speeds up the decision process. It also reduces mismatched expectations later on.
At this stage we usually recommend preparing a few alternatives. For example, showing the same kitchen with two different door colors makes it easier for the client to decide. Then, once the choice is clear, you move the model to SketchUp with a single option.
Other parts of the series
In the previous part we developed the kitchen modules. You can find that topic in our Adeko kitchen modules post. Handle selection and the first detailing steps are in the kitchen handles and detailing part.
In the next step we move the design into SketchUp. For this stage, go on to our transferring the file to SketchUp lesson. That way you start getting your detailed kitchen ready for rendering.
Frequently asked questions
How long does Adeko kitchen detailing take?
It depends on the size of the project and the level of detail. If the modules were set up correctly, detailing goes much faster.
Is it better to do the detailing in SketchUp?
Adeko is more practical for kitchen-specific details. We use SketchUp after the transfer to prepare the scene and the render.
Where should I start the series?
Start with the first part, where we get to know the interface. Each part builds on the one before it.


