
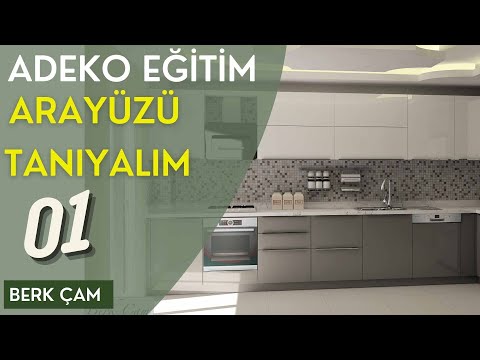
Adeko Basics Series: Getting to Know the Interface 01

This basics series for Adeko, one of the most widely used kitchen design programs, will help you use the program more comfortably. The lessons are taught by Berk Çam, an authorized Adeko dealer and a furniture and interior designer. He has trained and supported many Adeko users across Türkiye.
Website: https://berkcam.com/
 YouTube
What’s in this video?
This lesson is the first part of our Adeko basics series. In the video, you get to know the program’s interface: what sits where on the screen and the basic workspace. The lesson is taught by Berk Çam, an authorized Adeko dealer and a furniture and interior designer. (The video is in Turkish; this guide walks through the key steps in English.)
The video description has no chapter timestamps. So we recommend watching the lesson with the program open next to you. That way, you find each part being explained on your own screen at the same time.
Who is it for?
The video runs about 10 minutes. It is a short introductory lesson, but it lays the foundation for following the rest of the series comfortably.
- Beginners opening Adeko for the first time who don’t know where to start
- People working on the design or sales side at kitchen and furniture companies
- Interior designers who draw kitchen projects in particular
- Students who want to grow their skills in furniture design
Why does getting to know the Adeko interface matter?
In any program, the first obstacle is not knowing where the tools are. Someone who doesn’t know the interface gets lost in the menus even for a simple task. That is why we start the series with the interface rather than with design.
Adeko is a program focused on kitchen and furniture design. Tasks such as placing modules, dimensioning and detailing are at its core. Once you get used to the interface, you reach these tools much faster.
The habits you build in the first lesson also help in every later part. For example, when you know where to find a tool, it is easier to focus on what is being explained in a new lesson.
Before you watch
In kitchen design, accurate dimensions come first. So while you learn the program, we recommend paying attention to dimension inputs and units too. Writing down the dimensions of a real kitchen on paper is a good start for your first attempts.
In later parts of the series, we bring the design into SketchUp and refine it there. So a look at SketchUp’s basic concepts will also make things easier. For that, see the SketchUp Help Center.
There is also the question of pace. Trying to learn everything at once in the first few days is tiring. So after each lesson, we suggest taking a short break and reinforcing what you learned with a small test. That way, the knowledge sticks and you start the next lessons more eagerly.
Give yourself a small task in the first lesson
- First, open the program and get to know the main workspace.
- Then find each area shown in the video on your own screen.
- Next, open an empty project and try out a few tools.
- Finally, write down any questions that come up.
This small exercise makes the next lesson much easier to follow, because in part two we move on to placing windows and modules.
How does the series progress?
The series starts from an empty project and moves toward a kitchen that is ready to present. In the first parts, we cover the interface, the layout and the details. Then we develop the modules, and finally we bring the design into SketchUp and prepare it for rendering.
This order also mirrors the flow of a real kitchen project. So when you finish the series, you have seen not only the program but also how a project runs from start to finish.
Related lessons
- Placing windows and modules (02): the second lesson in the series.
- Detailing the kitchen design (03): developing the design.
- Kitchen handles and details (04): the finishing touches.
- Bringing the file into SketchUp (08): taking the design to presentation.
- Our SketchUp tutorials page: basic lessons for the work that comes after the transfer.
Frequently asked questions
Do I need to have used Adeko before to follow this series?
No. The series starts from the very beginning, and we made the first lesson with people who don’t know the program at all in mind.
In what order should I watch the lessons?
We recommend watching them in numerical order, because each part builds on the design we set up in the one before.
What should I do if I get stuck?
You can post your question in the comments below the video. Noting which step the problem came up in also makes it much easier for us to help you.
Can I refine the kitchen design in SketchUp later?
Yes. In later parts of the series, we bring the design into SketchUp, refine it and prepare it for rendering.


