SketchUp Exterior Modeling 04: SketchUp Facade


Our SketchUp facade modeling work continues in part four of our exterior series. In the previous part we focused on material details. In this short lesson we pick up exterior rendering where we left off. In this article we explain where the lesson sits in the series. We have also put together a general checklist for tidying up the facade before you render.
When we recorded the lesson, we were using an older version of V-Ray. So the menus look a little different from today’s interface. But the logic of facade layout, light and materials has stayed the same.
SketchUp facade 04 video
This part is about seven and a half minutes long. If you have watched the earlier parts of the series, you can go straight to this lesson. (The video is in Turkish; this guide walks through the key steps in English.)
 YouTube
Where does this part sit in the series?
As we said in the video description, the series brings together the most important information on exterior modeling and rendering. First we set up the scene, then we went into V-Ray material details. In this part we continue with the key elements of a high-quality visualization. If you have not watched the materials part yet, check out part three first.
Clean geometry in a SketchUp facade model
A good facade render starts with a clean model. So review your geometry before you get to the rendering stage. Fix reversed faces and clean up overlapping surfaces. These problems cause blotches and flickering textures in the render.
Also make sure that thin details such as window frames, railings and parapets have real thickness. A single face with no thickness looks like paper in a close-up. Give it some thickness and the light draws a nice line along the edges. The facade then looks far more realistic.
Making the facade readable
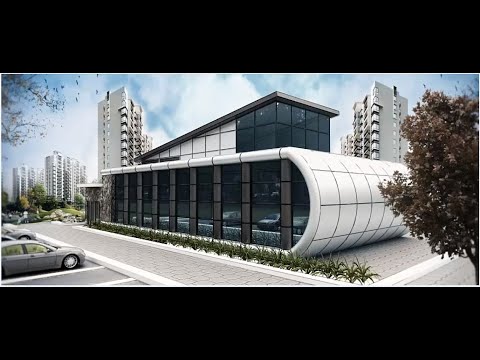
A facade does not look good because of its materials alone. The real difference is the depth that light creates on it. For example, if you leave the windows flush with the wall, the facade looks flat and dull. Set the window back a few centimeters and shadows form along the edges, bringing the facade to life.
The same logic applies to balconies, eaves and projections. These elements cast shadows in sunlight and give the facade rhythm. So choose the sun angle to suit the facade. Light from the side is the light that shows relief and depth best.
Pre-render checklist for a SketchUp facade
- Scale: Make sure your materials are at real-world size.
- Glass: Check the reflection setting of the window glass. Then add curtains or a simple interior volume so the inside does not look completely empty.
- Landscape: Place a few trees and shrubs in front of the building. This adds a sense of scale and depth.
- Camera: Keep the camera close to eye level so vertical lines do not look skewed.
- Test: Do a few low-quality tests before the final render.
You can find detailed information on SketchUp’s camera and scene tools in the SketchUp Help Center. Saving scenes in particular lets you return to the same camera angle again and again.
The rest of the series
After this part we move on to the final steps of render preparation. To continue, read our part five article. There, in a longer lesson, we cover what we do while getting the facade ready for rendering.
Realism in glass and window frames
In exterior images, the glass is one of the first places the viewer’s eye goes. Glass that is completely black or completely transparent makes the image look artificial right away. So give the glass a slight reflection and leave a simple interior volume behind it. Even a curtain, a ceiling light or a few pieces of furniture add depth behind the glass.
For window frames, profile thickness matters. A real window profile is a few centimeters wide and sits a little back from the wall. Model the profile close to these dimensions and the facade becomes far more convincing. Also choose a frame color that works with the facade color. For example, anthracite frames create a nice contrast on a light-colored facade.
Once you finish the series, we recommend trying the same method on your own projects. For example, model the facade of your house or a nearby building. Comparing a real building with photos trains your eye for light and materials very quickly. You can also share your finished images in our Facebook group and get feedback from other users.
These two articles will also help: SketchUp V-Ray Facade Render Settings 06 and SketchUp Exterior Modeling 01. Our SketchUp render guide also shows you step by step where to go next.
Frequently asked questions
Which render engine should I choose for a SketchUp facade?
We use V-Ray in this series. But the same modeling and material logic applies to other render engines too.
Why does my facade look flat?
Usually the windows and projections are flush with the wall. Give these elements some depth and bring the sun in from the side.
Can I watch this part on its own?
You can, but watching the earlier parts will help the topic sink in much better.