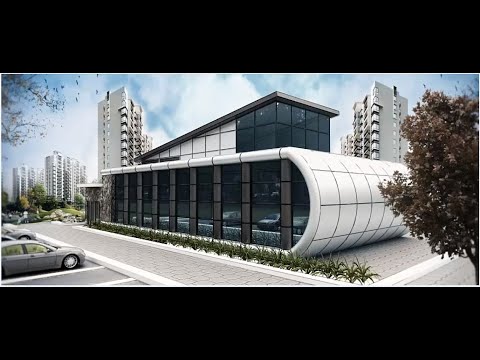
Toward the Render: SketchUp Exterior Facade Modeling 05


Exterior render preparation is the main topic of the fifth part of our exterior series. In this lesson, which we call “Toward the Render”, we focus on what we do to the model before taking it to the final image. In the earlier parts we built the scene and prepared the materials. Now we bring everything into the order a render needs. In this article we cover where the lesson sits in the series and the checks to run before rendering.
When we recorded the lesson we were using an older version of V-Ray. So the menus look a little different from today’s interface. But the logic of pre-render preparation is the same in any version.
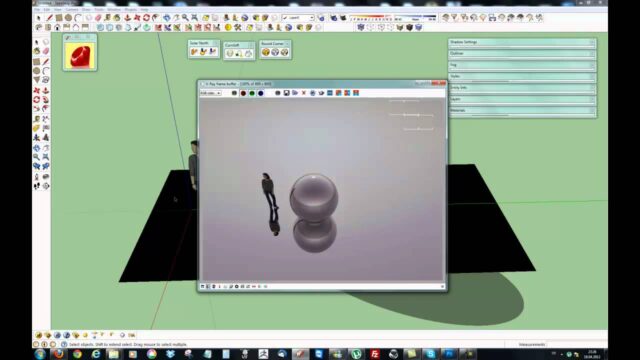
Exterior render preparation video
The lesson runs about 27 minutes. It is one of the longest parts of the series, so we recommend watching it without rushing.
 YouTube
Why a separate preparation stage?
Many users hit the render button as soon as they finish the model. The result is usually a disappointment, because the render engine clearly shows every small error in the model. Reversed faces, sliding textures or missing parts stand out right away in the final image. (The video is in Turkish; this guide walks through the key steps in English.)
So checking the model once from start to finish before rendering saves a lot of time. The preparation stage is also a good chance to think about lighting and the camera. If you have not watched the previous part, take a look at part four first.
Exterior render preparation steps
The steps below are a general order we also follow in our own projects. You can follow the same order in your own facade work.
- Clean up the model: Delete the components and materials you do not use. This makes the file lighter.
- Check the faces: Fix reversed or overlapping faces.
- Review the materials: Make sure the texture scales and directions are correct.
- Lock the camera: Save the angle you like as a scene.
- Set the lighting: Choose the sun direction and time of day to suit the facade.
- Run a test render: Do a few trials at low quality and note the problems.
Choosing the light and the camera
On an exterior, the light sets the mood of the image. Midday sun, for example, gives hard shadows and vivid colors. Late-afternoon light creates a warmer, softer atmosphere. If you decide in advance which mood you want, you spend less time fiddling with settings.
For the camera angle, eye level usually gives the most natural result. Also make sure the building’s vertical lines do not lean. Two-point perspective helps a lot here. Finally, leave a little space around the building in the frame. The image will feel more open.
Settings after exterior render preparation
Once preparation is done, it is time for the render settings. We cover settings like quality, resolution and noise reduction in the next part. So for what comes next, go to our part six article. If you want to see the same facade in night light, our night render lesson will help.
For the current version of V-Ray and its system requirements, check the V-Ray for SketchUp page. We especially recommend checking the requirements in advance if you work on an older computer.
Common mistakes
The most common mistake we see is using very high quality settings during testing. Then every trial takes minutes and the process drags on. Another mistake is forgetting the landscape. A facade with no trees and no people looks empty, however good the materials are. Adding a few trees and shrubs gives the image scale and life.
Landscape and surroundings during preparation
The surroundings are an often forgotten part of pre-render preparation. The ground, walkways and plants around the building make up half the image. So do not leave the ground as a flat color. Use different surfaces together, such as grass, stone paving or soil.
When you place trees and shrubs, aim for a natural arrangement. If you line them all up at the same height and spacing, the scene looks artificial. Vary the heights and spacing a little instead. Also use heavy plant models as components, so the file stays light. Finally, do not forget the sky, because the sky sets the light and mood of the whole scene.
Once you have a preparation checklist, use the same one on every project. That way you never skip a step and you move faster each time.
Frequently asked questions
How long does exterior render preparation take?
It depends on the size of the project. Half an hour is enough for a small facade, while large projects take longer.
What quality should I use for test renders?
Low quality and a small resolution are enough. The goal is to spot lighting and material problems quickly.
Why is saving a scene important?
A saved scene locks the camera angle. That way you compare the same view on every trial.