SketchUp V-Ray Triplanar: Apply Materials to Sloped Surfaces 07


V-Ray Triplanar is one of the most practical ways to apply materials to sloped surfaces. This feature in V-Ray for SketchUp places a texture cleanly regardless of the shape of the surface. It is a really excellent feature for sloped roofs, terrain embankments and organic forms. In the seventh part of our materials series, we show Triplanar with a short example.
In the previous part we explained why texture placement gets harder on complex surfaces. In this part we look at a method that solves that problem with a single setting. And you do not need any extra extension for this method.
Triplanar saves a lot of time, especially on exterior work. For example, you can quickly cover the soil, grass and stone surfaces of a villa’s sloped garden. You can also use the same method indoors for an organic chandelier or a sculpture. In short, once you learn it, it becomes a tool you come back to again and again on many projects.
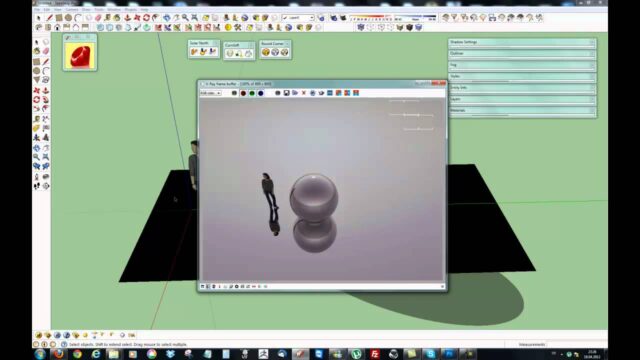
V-Ray Triplanar lesson video
You can watch the short video, about two and a half minutes long, below.
 YouTube
How does Triplanar work?
Normally a texture is placed on a surface from a single direction. On a flat wall this causes no problems. But as the surface tilts, the texture stretches, slides or loses its shape. (The video is in Turkish; this guide walks through the key steps in English.)
Triplanar projects the texture from three separate axes at the same time. So one copy lands on the surface from each of the X, Y and Z directions. Then V-Ray blends these three projections based on the direction the surface faces. Whichever way the surface faces, the projection from that direction dominates. In transition areas, the projections blend softly into each other.
When should you use V-Ray Triplanar?
Triplanar is not the best option in every case. But on some surfaces it offers unmatched convenience.
- Sloped roofs: roof tile or cladding textures sit on the slope without stretching.
- Terrain and rocks: soil, gravel and stone textures look clean in every direction.
- Organic forms: seams are reduced on sculptures, vases and curved furniture.
- Multi-part models: you do not have to set up the texture on each part one by one.
On the other hand, be careful with directional textures. For example, the grain of a wooden door should run in one direction. On these surfaces, Triplanar sometimes turns the grain in different directions. In such cases, classic texture placement gives a more accurate result.
Which settings should you check?
Triplanar has few, simple settings. In general, paying attention to these three points is enough.
- Scale: sets the real-world size of the texture. If the stones look too big or too small, fix this value first.
- Blend: controls how softly the three projections blend into each other. If the value is low, sharp lines appear in the transitions.
- Random offset and rotation: reduce the impression that the same texture is repeating. Especially useful on large terrain surfaces.
You can find the official description of the settings in the V-Ray for SketchUp documentation.
Using V-Ray Triplanar step by step
The general method has a few steps. You can follow this order on your own project.
- First open the material you will apply to the sloped surface in the V-Ray material editor.
- Then choose the Triplanar map in place of the texture in the Diffuse channel.
- Then place the actual texture inside Triplanar.
- Set the scale to real-world size and run a small test render.
- Finally, inspect the transitions up close and adjust the blend value.
If you use a bump or normal map, apply the same logic to that channel too. Otherwise the color and the relief look disconnected.
Common mistakes
The most common mistake is rendering without checking the scale. Triplanar places the texture cleanly, but you have to give it the right size. The second mistake is applying Triplanar to every surface. On flat walls and floors, the classic method usually gives a more controlled result. In short, do not see Triplanar as a cure-all, but as a tool that works in the right place.
Other parts of the series
We explained the general problems of texture placement in our complex surfaces lesson. In the next part we move on to the V-Ray Blend material, which mixes two materials together. For the core logic of materials, also see our physical logic of materials article.
Frequently asked questions
Do I need an extension for V-Ray Triplanar?
No. Triplanar is one of V-Ray’s own texture maps. You can select it directly in the material editor.
Why does Triplanar look strange on wood?
Wood grain runs in one direction. Triplanar projects the texture from three directions, so it turns the grain in different directions.
Does V-Ray Triplanar make render times longer?
The effect is usually very small. But keep an eye on memory use when you work with very large textures.