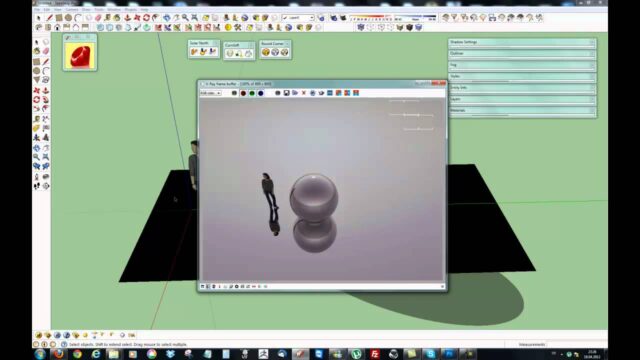
V-Ray Frame Buffer: Interior Visualization Tutorial 08


The V-Ray Frame Buffer is not just a screen that shows your render. It is also a powerful editing tool. We have reached the eighth and final part of the SketchUp V-Ray high-quality interior visualization tutorial. In this article, as the topic that goes with the series finale, we cover what the frame buffer window can do. That way, once the render finishes, you can polish your image without switching to another program.
This part runs about 16 minutes. Since it is the last step of the series, we recommend bringing together everything you learned in the earlier parts here.
V-Ray Frame Buffer and the Part 08 video
While you watch the video, open the frame buffer window on your own computer too. As you try each tool, you will better understand what it does.
 YouTube
What is the frame buffer?
The frame buffer, also known simply as the VFB, is V-Ray’s render window. When the render starts, the image builds up in this window. But the VFB is not just a viewing screen. It contains many tools such as color correction, a history log and comparison. Thanks to these tools, you do not need to switch to Photoshop for small edits. (The video is in Turkish; this guide walks through the key steps in English.)
The basic tools in the V-Ray Frame Buffer
The window’s tools change a little from version to version. Still, the core features below have been part of the VFB for a long time.
- Color corrections: With settings like exposure, white balance, contrast and curves, you change the tone of the image after the render finishes.
- History: Stores your previous renders. You can then compare the results of two different settings side by side.
- Region render: Renders only a part of the image that you select. It saves a lot of time during testing.
- Lens effects: Adds a soft glow and halo around bright light sources. It creates a nice atmosphere in interior night scenes.
- Render elements: Let you view separate layers like reflection, lighting and shadow one by one.
Comparing your work with History
Our favorite VFB feature is the History panel. Before you change a setting, save the current render to the history. Then render again with the new setting. After that, compare the two images side by side or one over the other. This method clearly shows which change really improved the image.
This habit is very useful, especially when testing lights and materials. The eye easily forgets an image it saw a few minutes ago. A side-by-side comparison keeps you from being fooled.
Color correction in the V-Ray Frame Buffer
When the render finishes, the image often looks a little washed out or a little dark. In that case, try the color corrections in the VFB instead of rendering again. Raising the exposure slightly, adding a bit of contrast and adjusting the white balance is often enough. You get a much more vivid image in minutes.
But do not overdo the corrections. Too much contrast turns shadows completely black and destroys detail. Also check whether the corrections are included in the file when you save the image. You can review the current VFB features on the official V-Ray for SketchUp page from Chaos.
Saving the image in the right format
The format you save the final image in also matters. For the web and social media, JPG or PNG is enough. But if you plan serious editing later, choose formats that carry more color information. Formats like EXR leave much more room for changing the exposure afterward.
The other article for this part, and the next step
We also covered this same part from the post-production angle. For finishing touches in Photoshop, see the other article for Part 8. We explained the render settings in the previous part, in our Part 7 article.
If you have finished the series, your next step can be our V-Ray 5 course set. There we apply the same logic with the new version’s interface.
A test loop with the V-Ray Frame Buffer
During testing, use the VFB like a lab. Recalculate only the problem area with region render. Then save the result to the history and compare it with the previous test. This loop keeps you from losing hours between large renders. Also write a short note after each test. That way you will not forget which setting gave which result.
Frequently asked questions
The V-Ray Frame Buffer window closed. How do I open it?
Click the frame buffer icon on the V-Ray toolbar. The window comes back along with the last render image.
Do VFB corrections carry over to the file I save?
It depends on the save options. When saving, check the option to apply color corrections.
Is the VFB alone enough instead of Photoshop?
For simple tone and color corrections, it is often enough. For more extensive edits, you need an image editing program.