SketchUp Floor Modeling: Model a Full Floor From a DWG File

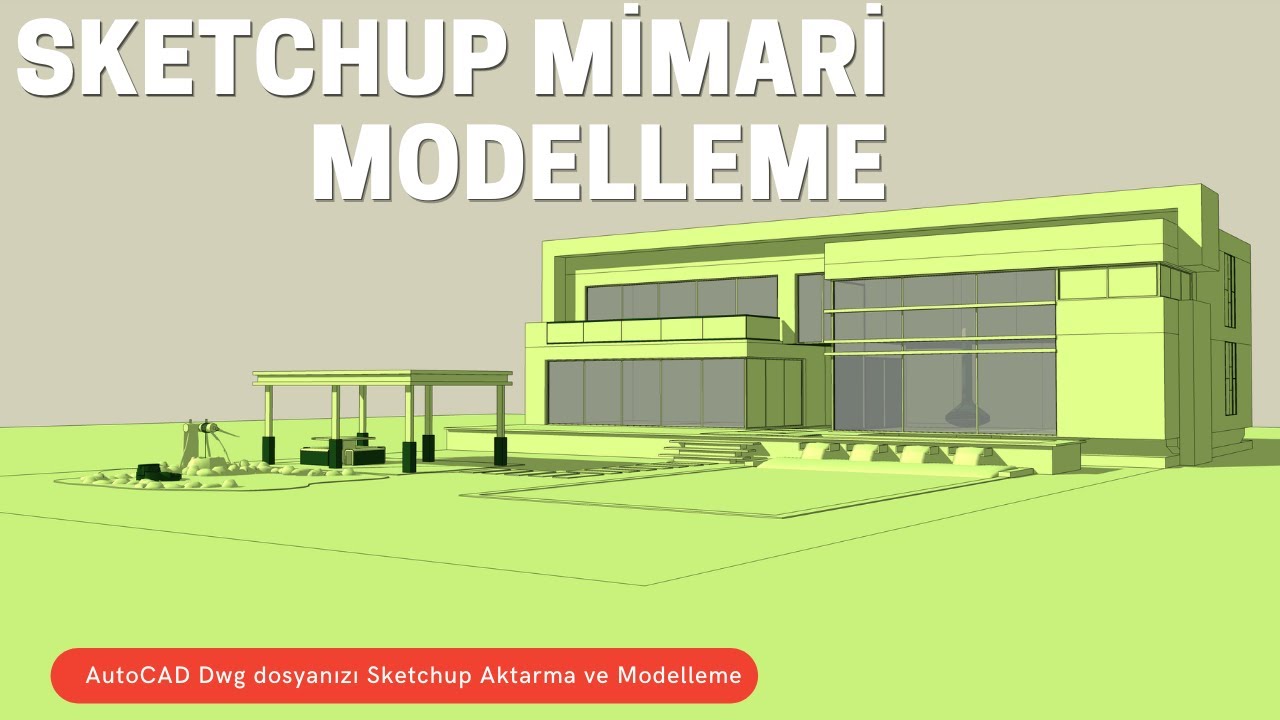
Building a SketchUp model from DWG files is one of the most reliable ways to bring architectural projects into SketchUp. In this lesson we use the DWG file of an architectural project to model a floor from start to finish. The lesson is also the foundation of our villa modeling work. In this post we cover what the lesson includes, how to prepare the DWG file for SketchUp, and the problems that come up most often.
Measuring and drawing a floor plan by hand is slow and error-prone. A DWG file already contains the walls and the door and window openings with the correct dimensions. So when you use the plan as an underlay, modeling goes much faster.
DWG floor modeling video
The lesson runs about one hour and forty minutes. Since it is long, we recommend watching it section by section and practicing on your own model after each one. You can find the download link for the floor plan we use in the video’s YouTube description.
 YouTube
What do we do in this lesson?
As we wrote in the video description, in this lesson we model a floor from an architectural project. SketchUp is one of the best choices for architectural modeling. That is why our villa modeling lessons use the same logic to model a whole villa from start to finish. This lesson is the first and most important step in that process. (The video is in Turkish; this guide walks through the key steps in English.)
If you want to see where the villa series goes next, take a look at our villa modeling and render series. There we take the model all the way through materials and rendering.
Preparing the DWG file for SketchUp
Before importing the DWG file directly, a little cleanup on the AutoCAD side helps a lot. In general, we recommend these steps:
- Delete unneeded layers: Hatch, dimension, text and furniture layers only add clutter in SketchUp.
- Check the units: Find out in advance whether the drawing is in meters or centimeters.
- Move the drawing to the origin: Bring the plan close to the coordinate origin. Otherwise you will see flickering faces in SketchUp.
- Run the Purge command: Clean out unused blocks and styles.
Then you import the file in SketchUp from File > Import. For import options and supported formats, see the SketchUp CAD files page.
Steps for modeling a floor from DWG
Once the plan is in SketchUp, we generally go in this order. You can easily follow the same order in your own projects.
- Group the plan: Make the plan a group and lock it so its lines do not mix with your model.
- Draw the walls: Create the wall faces by tracing over the plan lines.
- Raise them: Use the Push/Pull tool to raise the walls to the floor height.
- Cut the openings: Cut the door and window openings to the plan dimensions.
- Add the slab: Add the floor slab and ceiling thicknesses to the model.
Common problems
The problem we see most often is plan lines that do not form closed faces. When there are tiny gaps between lines, SketchUp does not create a face. In that case, zoom in on the lines and join the missing points. Arcs and circles split into too many segments also make the file heavy.
Another problem is a scale error. If the plan comes in with the wrong units, the building ends up either tiny or huge. So after importing, check a known dimension, such as a door width, with the Tape Measure tool.
The whole building after modeling a floor from DWG
Once you have modeled a single floor, moving to a multi-story building is fairly easy. If the typical floors are identical, make the floor a component and copy it upward. That way a change you make on one floor shows up on every floor at once. The ground floor and the roof floor are usually different, so model them as separate groups.
Also make sure vertical elements such as stairs and elevators line up on every floor. To do this, import the plans relative to the same reference point. Finally, put each floor on its own tag. That way, when you want a section or a floor plan view, you can easily turn the floor you need on and off.
Next steps
After modeling the plan, it is time to work on the facade and materials. If you want to see the plan-based modeling approach in a different project, our modeling and rendering from a plan series will help. That way you reinforce the same method on two different projects.
Frequently asked questions
Do I need AutoCAD to model a floor from DWG?
No. But AutoCAD or a similar CAD program is very useful for cleaning up the file beforehand.
Why doesn’t my imported plan create faces?
There are small gaps between the lines. Join the missing points, or redraw the walls over the plan.
Does the lesson share the floor plan too?
Yes. The download link for the floor plan is in the video’s YouTube description.