A Lesson Money Can’t Buy: Modeling from a Plan and Rendering 01

Modeling without a DWG plan is a situation you’ll run into far more often than you think. Sometimes all you have is a photo of a plan or an image from a brochure. In SketchUp, you can model these projects from the picture of the plan. This lesson is the first part of our ten-part “Modeling from a Plan and Rendering” series.
In the series we start modeling from an image of the plan and move on to rendering in later parts. You can follow along with a DWG plan if you like, or from an image plan as we do. The first part runs about fifteen minutes.
Modeling without a DWG plan: part 1
 YouTube
What if there’s no DWG?
In architectural projects, the ideal is to work with a DWG file drawn to scale. But not every project gives you that luck. For example, when renovating an old building, all you may have is a copy of the plan from the municipality. Or the client sends you the plan image from a sales brochure. (The video is in Turkish; this guide walks through the key steps in English.)
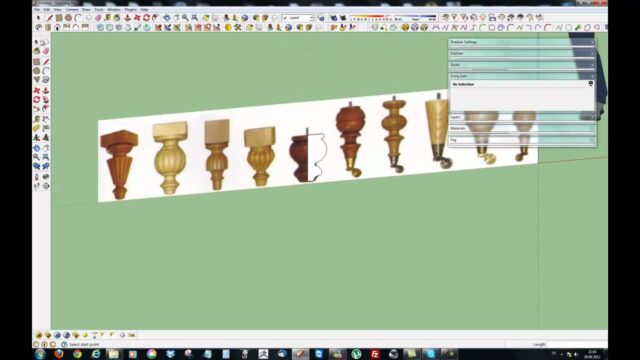
In that case you have two options. The first is to redraw the plan in a drawing program first. The second is to bring the image straight into SketchUp and model on top of it. In this series we choose the second path. For most residential projects, this method is both fast and accurate enough.
What you need to model without a DWG plan
To build a sound model from an image, you need a few things. We recommend checking this list before you start.
- A clear image: A plan image with sharp lines, taken as straight-on as possible.
- A known dimension: At least one long dimension written on the plan, such as a wall length.
- Floor height: Plans usually don’t show it, so you need to find it out separately.
- Door and window information: Frame widths and sill heights.
The clearer the image, the more accurate the model. In a photo taken at an angle, the dimensions shift. So if you can, ask for a scanned or digital plan image.
The limits of modeling from an image
This method has some limits, and you need to account for them from the start. If the image resolution is low, even the line thickness can shift a dimension by a few centimeters. The image also stretches slightly during printing or scanning. So you need to compare the model’s main dimensions with the dimensions written on the plan often.
Still, for most presentation and visualization projects these small differences aren’t a problem. For work that needs millimeter accuracy, like construction drawings, a drawing to scale is a must. If you want to work with a dimensioned file, take a look at our lesson on modeling a floor from a DWG file.
Series roadmap
The series has ten parts, and each part builds on the one before. Here is the general flow of modeling from an image plan:
- Preparation: Bring the plan image into SketchUp and set it to the right scale.
- Walls: Draw the walls over the plan and raise them.
- Details: Add doors, windows and other details to the model.
- Render: Visualize the model with Enscape.
We explained the general method for scaling the plan image in our SketchUp plan scaling article, which goes with part 2 of the series. We covered the general logic of drawing walls in our part 3 article, SketchUp wall modeling.
Who is modeling without a DWG plan for?
This method is especially practical for interior designers and designers who do visualization. Clients often send the plan they have as a photo. Starting the model without waiting to redraw the plan speeds the job up by days.
The method is also very useful for architecture students. When you study a reference building, for example, you often only have plan images from books or the internet. Building a model from an image is a fast way to understand that building in three dimensions.
SketchUp settings before you start
Check the unit setting before you start modeling. You can set the units to centimeters or meters in the Model Info window. Starting with an architectural template also sets up the working plane and units correctly from the start. You can find details on these settings in the official SketchUp Help Center too.
Finally, keep the plan image on its own tag (layer). That way you can hide and show the image while you model and lock it when needed. This small bit of organization makes things much easier in later parts.
Frequently asked questions
Is modeling without a DWG plan accurate enough?
It is usually enough for presentation and visualization. For construction work that needs millimeter accuracy, you need a drawing to scale.
What format should the plan image be in?
Common image formats like JPG or PNG will do. What matters is that the image is clear and straight.
What do I need to know to follow the series?
Knowing SketchUp’s basic drawing tools is enough. We apply the other steps together throughout the series.