V-Ray 5: Getting to Know the Menus 01

With the V-Ray 5 menus, we start a new course set. In our SketchUp V-Ray 5 lessons, we aim to show how to use the render engine in the simplest way, step by step. In this first lesson we get to know the toolbars and the main windows. That way, in the following lessons, you can easily follow which button we press and why.
The lesson runs about 7 minutes. It is short, but it builds a solid foundation for the rest of the set.
V-Ray 5 menus lesson video
While you watch the video, keep SketchUp open and find each menu on your own screen. Getting to know the menus by poking around sticks much better than memorizing them.
 YouTube
Why learn the menus first?
V-Ray is a powerful render engine, but it looks crowded when you first open it. Faced with all this, many users try random values without knowing what each setting does. The result is often disappointment. Once you grasp the logic of the menus, though, everything falls into place. (The video is in Turkish; this guide walks through the key steps in English.)
Knowing the menus also makes troubleshooting easier. For example, when the image comes out noisy, you know which window to check. In short, knowing the menus is the first step to using V-Ray with purpose.
V-Ray 5 menus: the main toolbars
V-Ray 5 adds several toolbars to SketchUp. Each one has a different job. Below we summarize in general which tools are where.
- Main toolbar: core commands like the Asset Editor, starting a render, Interactive Render and the frame buffer are here.
- Lights toolbar: you add light types like Rectangle, Sphere, Spot, IES, Omni and Dome to the scene with this toolbar.
- Objects toolbar: special V-Ray objects like Proxy, Fur and Infinite Plane are in this section.
You can turn the toolbars on and off from View > Toolbars in SketchUp. To keep your screen clean, leave only the ones you use often turned on.
Asset Editor: the heart of V-Ray
The Asset Editor is the window you will spend the most time in with V-Ray 5. The scene’s materials, lights, render settings and more are gathered in this window. Categories are on the left, and the settings of the item you select are on the right.
- Materials: Lists the materials in the scene and lets you edit them.
- Lights: Shows all the lights in the scene in one place.
- Geometry: Contains the settings for special objects like Proxy and Fur.
- Render Elements: Lets you add separate layers for post-production.
- Settings: Holds render settings like quality, camera and global illumination.
The frame buffer among the V-Ray 5 menus
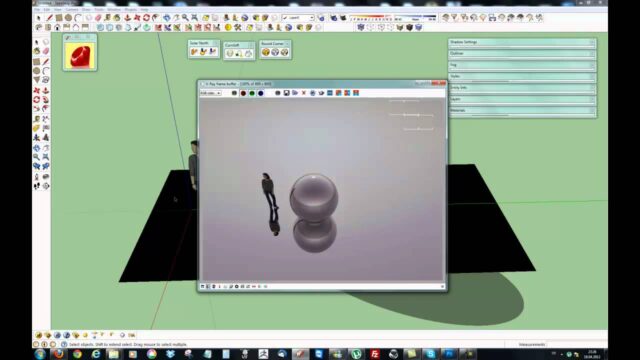
The frame buffer is the window where your render appears. But it is not just a viewing screen. With V-Ray 5, this window became much more capable. You polish your render in this window with tools like color correction, Light Mix and history. That way you do not need to switch to another program for small edits.
In the first lessons we will use the frame buffer only to see the result. In more advanced lessons we will cover its tools one by one. You can review the current features on the official V-Ray for SketchUp page from Chaos.
A practice tip for the V-Ray 5 menus
The best way to learn the menus is to try them in a simple scene. A floor, a cube and a window are enough. First add a light, then find the light’s settings in the Asset Editor. Next create a material and assign it to the cube. Finally, watch the result live with Interactive Render. This small exercise quickly shows how the menus work together.
You can find more detailed Turkish explanations of the menus in our V-Ray menus explained in Turkish lesson. Later in the set we move on to lights; for example, our Rectangle Light in interiors lesson is a good next step. For a long, comprehensive hands-on project, take a look at our V-Ray 5 course set.
Your first days with the V-Ray 5 menus
In the first days of the set, do not try to change every setting. V-Ray’s default values are a good starting point for most scenes. First take a few renders with these values and observe the result. Then change only one setting at a time. That way you clearly see which change affects what. Also note down the settings you like. These notes will save you time in later lessons.
Frequently asked questions
The V-Ray 5 menus do not show up in SketchUp. What should I do?
Turn on the V-Ray toolbars from View > Toolbars. If they still do not appear, check that the extension is installed correctly.
How do I open the Asset Editor?
Click the Asset Editor icon on the main V-Ray toolbar. Docking the window to one side of the screen makes it more comfortable to work with.
I know an older V-Ray version. Are the menus very different?
The interface has changed, but the core logic is the same. After a short adjustment period, you will work comfortably.