Ultra Galactic Skirting Board Modeling: Can You Beat My Skirting?

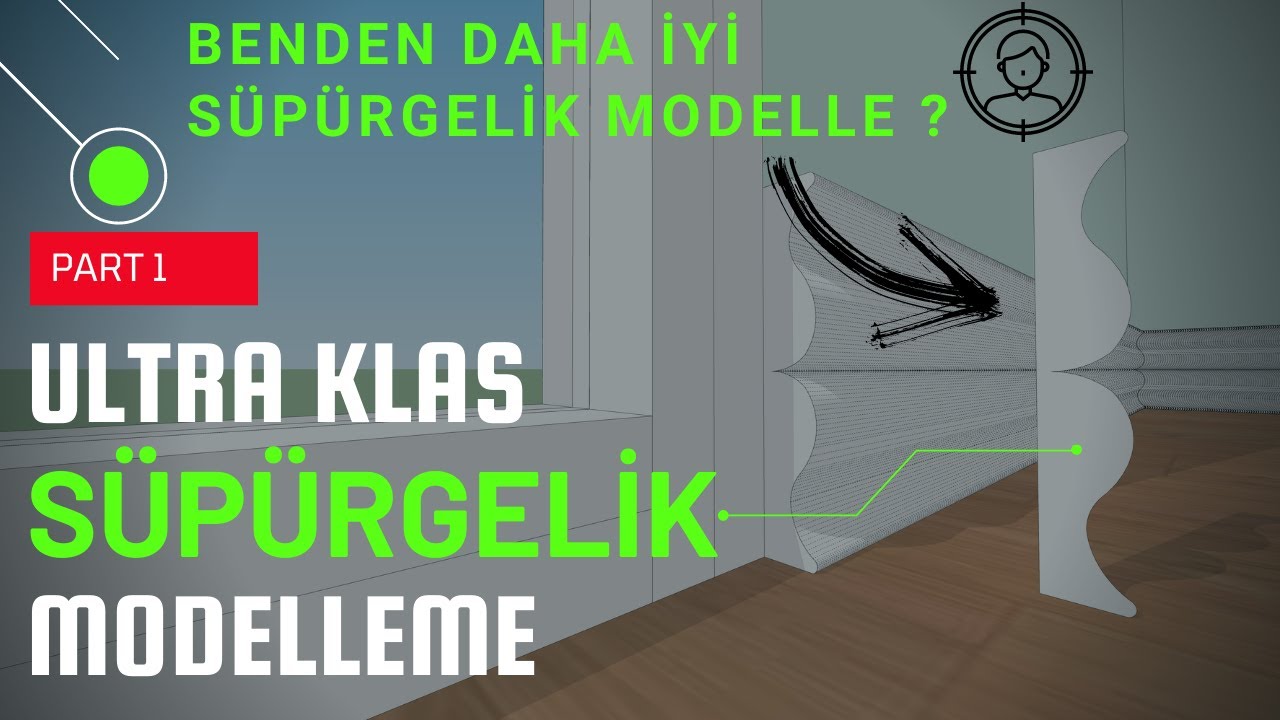
After many requests over a long time, our SketchUp skirting board modeling lesson is finally out. A skirting board looks like a small detail. In interior renders, though, it is an important part that finishes the line where the wall meets the floor and makes the space look complete. In this article we cover the lesson’s topic, the general logic of modeling a skirting board and a small challenge waiting for you.
The video’s title comes from this challenge. In short, our question is: can you make a better skirting board than mine? Watch the lesson, make your own skirting board and share the result with us. Let’s see who comes up with the nicest one.
SketchUp skirting board modeling video
The lesson runs about seven minutes. It is short but packed, so we recommend pausing as you follow the steps.
 YouTube
Why does the skirting board matter?
Interior renders have details the eye does not notice at first but immediately misses when they are gone. The skirting board is one of them. A wall without a skirting board makes a sharp, artificial line with the floor. Add a skirting board and the space turns into a real living area. (The video is in Turkish; this guide walks through the key steps in English.)
The skirting board also reflects the style of the interior. In modern spaces, for example, we prefer thin and simple profiles. In classic spaces, taller and molded skirting boards stand out. So it matters to pick a skirting board that matches the overall language of the space.
The logic of SketchUp skirting board modeling
The general logic of modeling a skirting board is quite simple. You draw a profile, then sweep that profile along the wall. The general method works like this:
- Draw the profile: Draw the skirting board’s cross-section on a plane perpendicular to the wall. Keep its height and thickness close to real dimensions.
- Select the path: Select the bottom edges of the walls the skirting board will run along.
- Apply Follow Me: Use the Follow Me tool to sweep the profile along the path you selected.
- Open the doorways: Cut the skirting board at door openings and finish the ends cleanly.
- Group it: Make the finished skirting board a group to separate it from the walls.
You can find detailed use of the Follow Me tool in the SketchUp Help Center. Besides skirting boards, this tool works the same way for crown molding, cornices and ceiling profiles.
What to watch at corners and doors
Corners are where skirting boards give people the most trouble. At inside and outside corners, the profile needs to join cleanly. The Follow Me tool usually joins corners correctly. But if there is a small break in the path lines, the profile comes out broken at that point. So before selecting the path, make sure the bottom edges of the walls are continuous.
At door openings, end the skirting board flush with the door frame. Also make sure the skirting board does not go inside the wall. If you place the profile just in front of the wall surface, you get a clean result in the render.
Different types of skirting board
A skirting board does not come in just one shape. In modern spaces, for example, we prefer recessed skirting boards that sit flush with the wall. On some projects we hide an LED strip inside the skirting board. In classic spaces, tall profiles with several steps stand out.
You model all these types with the same method. The only difference is the shape of the profile you draw. So we recommend drawing a few different profiles and saving them as separate components. If you build your own profile library, you can add a skirting board to a new project in minutes. You can put your crown molding and cornice profiles in the same library, too.
Materials after SketchUp skirting board modeling
The safest choice is a skirting board material that matches the floor or door material. On a wood floor, for example, a wooden skirting board in the same tone looks very natural. In modern spaces, skirting boards painted white or the same color as the wall give a clean look. Adding a slight reflection also helps painted surfaces look realistic.
Also choose the skirting board height in proportion to the ceiling height of the space. In spaces with high ceilings, a taller skirting board looks balanced. In spaces with low ceilings, a thin profile gives a more open feel. This small decision clearly changes the overall balance of an interior render.
Take the challenge
Share the skirting board you made, along with the link to this video, in our Facebook group. Let’s see together who made the nicest skirting board. For other lessons, see our SketchUp modeling videos list. For better modeling habits, take a look at our modeling tips article.
From here you can continue with our SketchUp Skirting Board and Crown Molding Drawing article. For other lessons, visit our SketchUp tutorial guide.
Frequently asked questions
Do I need an extension for SketchUp skirting board modeling?
No. The Follow Me tool is enough to model a skirting board.
Why does the skirting board break at the corners?
Usually there is a small break in the path lines. Make sure the bottom edges of the walls are continuous.
Can I make crown molding with the same method?
Yes. Draw the profile at the edge of the ceiling and sweep it the same way with Follow Me.