3D Visualization Tutorial


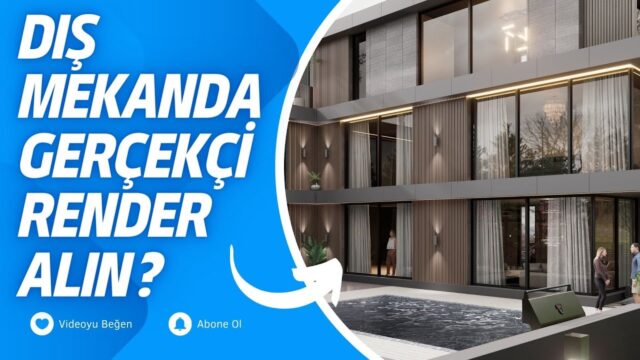
Our 3D visualization tutorial series covers the basics you need for high-quality renders in free videos. The first video in the series tackles one of the most important steps in 3D visualization: high-quality texture maps. In this post we share the video list and sum up the key points we pay attention to in visualization.
Many people who work in visualization look at the work shared in groups and pages and wonder about the details of the materials. We made this series to answer exactly that question. Once you learn how materials work, you will see a big difference in your own images too.
3D visualization tutorial video list
The first video in the list is a talk of about six minutes. Since it is short, you can watch it right away and try what you learn in your own scene.
 YouTube
Why do texture maps matter so much?
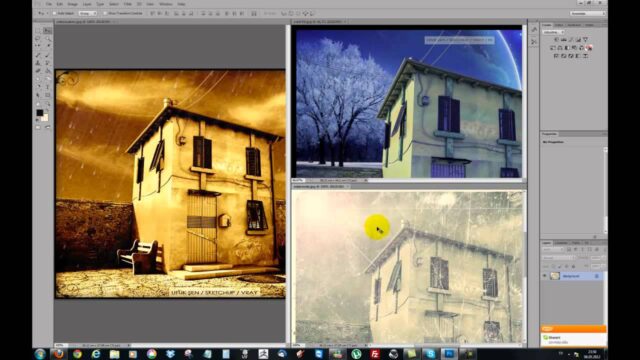
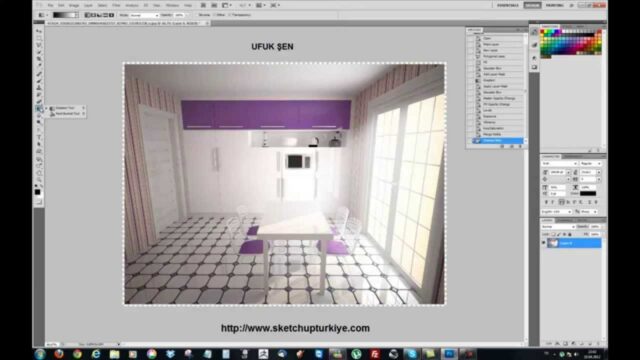
Creating a high-quality material is one of the basic steps of 3D visualization. After downloading a texture from a texture site, extracting its maps correctly is also very important. The render engine reads not only the color of the surface from these maps, but also its roughness, glossiness and depth. (The video is in Turkish; this guide walks through the key steps in English.)
For example, a wood floor with only a color image looks flat and plastic in the final render. Add roughness and bump maps to the same floor and it behaves like real wood. So how well you use the maps directly decides how realistic the image looks.
3D visualization tutorial: the basic texture maps
- Color (diffuse / albedo): Carries the base color and pattern of the material.
- Reflection and roughness: Decide how glossy or matte the surface looks.
- Bump (bump / normal map): Imitates small dents and bumps on the surface.
- Height (displacement): Actually raises the geometry to add depth.
- Opacity: Defines the invisible areas on surfaces such as leaves or curtains.
We explained in detail what each map does and where to use it. For more, take a look at our article on creating high-quality materials.
The other building blocks of good visualization
Materials matter, but they are not enough on their own. A striking image comes from getting a few basic elements right together.
- A correctly scaled model: The model should be at real-world size; otherwise light and textures look wrong.
- Light: The direction of the sun, the sky and artificial lights set the mood of the scene.
- Camera: Eye-level angles make the viewer feel they are inside the space.
- Detail: Plants, furniture and accessories make the scene feel lived in.
You apply these elements whatever render engine you use. We compared the engines in our SketchUp render engines post.
Where can you find high-quality textures?
To use texture maps, you first need high-quality textures. We listed sources of free, high-resolution textures in our post on downloading high-quality textures. You can find the basics of working with textures in SketchUp in our SketchUp texture guide.
If you use V-Ray, the official V-Ray for SketchUp page is also a good resource for material map settings. Each engine’s material editor is different, but the map logic is the same in all of them.
Practicing with this 3D visualization tutorial
The best way to reinforce what you learn is to set up a small test scene. For example, create a cube and a floor. Then add only the color map to the cube first, then roughness, and finally bump. Take a test render at each step and compare the difference. That way you see with your own eyes what each map adds to the image.
How to keep improving after the 3D visualization tutorial
Once you have learned the basics, the fastest way to improve is to study images you like. Pick an image and note where the light comes from and how the materials behave. Then try to capture the same mood in your own scene. This exercise trains your eye quickly.
Also share your work in communities and ask for feedback. Other people’s comments help you notice gaps you cannot see yourself. In short, regular practice and feedback are the shortest path to mastering visualization.
Remember, every master’s first images had flaws too. What matters is doing a little better on each new project than on the last one. So do not be afraid to experiment and make mistakes. Every mistake teaches you something for the next image.
Frequently asked questions
Is the 3D visualization tutorial free?
Yes, the videos in the series are free on our YouTube channel. You can reach all of them from the playlist above.
Are texture maps the same in every render engine?
The logic of the maps is the same, but they can appear under different names in the interface. Get to know your engine’s material editor beforehand.
What is the difference between bump and displacement?
Bump only makes the surface look indented, while displacement actually raises the geometry. Displacement is more realistic but heavier.