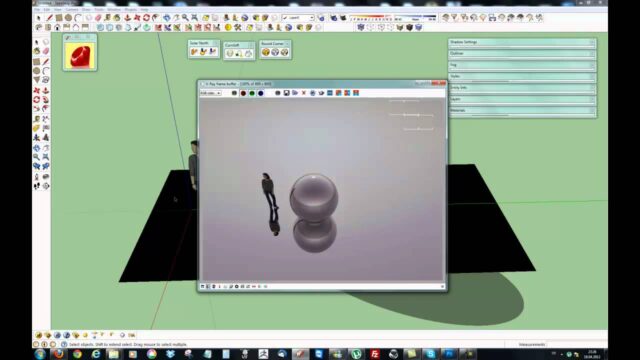
SketchUp V-Ray High-Quality Interior Visualization #03


V-Ray scene preparation is the invisible but most decisive step of a high-quality interior image. We are now in part three of our SketchUp V-Ray high-quality interior visualization series. In this article we have gathered the preparation steps that will help you while you watch this part. That way your model sits on solid ground before you move on to render settings.
The video is about 11 minutes long. After watching it, we recommend applying the checklist below to your own model.
V-Ray scene preparation lesson: part 03 video
Watch the part from start to finish, then open your own scene. Trying the steps as you go always speeds up learning. (The video is in Turkish; this guide walks through the key steps in English.)
 YouTube
Why prepare the scene first?
Many users hit the render button as soon as they finish the model. Then they end up with a noisy, dark image or one with strange reflections. In fact, most problems do not come from the render settings but from the model itself. For example, reversed faces, overlapping faces or unnecessarily heavy objects directly hurt render quality.
That is why an organized scene is half of a good render. Ten minutes spent on preparation saves you hours of trial and error later. On top of that, the file gets lighter and SketchUp runs more smoothly.
Checklist for V-Ray scene preparation
You can apply the steps below in order on every new interior project. The list is short, but its effect is big.
- Clean out what you do not use: Run Purge Unused from the Statistics section of the Model Info window. Unused components and materials are removed from the file.
- Check face orientation: Switch to Monochrome from the Face Style menu. You will see back faces in a bluish color. Fix reversed faces with Reverse Faces.
- Verify the scale: Measure a known dimension such as the door height or ceiling height. The lighting calculation works with real-world dimensions.
- Organize groups: Keep furniture, walls and accessories in separate groups. Assigning materials and hiding objects becomes easier.
- Use tags: Put accessories and landscape on separate tags. That way you can switch off heavy objects in one click for test renders.
You can find detailed information on SketchUp’s core tools in the SketchUp Help Center.
How do you deal with heavy objects?
In interior scenes, plants, curtains and detailed furniture make the file grow fast. These objects slow down navigation in SketchUp. V-Ray’s proxy feature is very useful here. A proxy keeps a heavy model in an external file and shows only a light stand-in in the scene. The actual model comes into play at render time.
Also, do not add detail to areas the camera does not see. For example, furnishing a room that stays out of view only lengthens render time. In short, spend your effort only on what is in the frame.
Set the camera angle early
We also recommend fixing the camera angle during V-Ray scene preparation. Find the view you want in SketchUp and save it as a scene. That way you keep the same angle in every test render. Comparing changes also becomes much easier.
Indoors, a camera height close to eye level usually gives the most natural result. Very wide angles make the space look bigger than it is and distort the walls. If you want to learn the camera settings in more detail, see our other part 3 article, which looks at the same part from the camera angle.
Test your preparation with a test render
When you finish the preparation, do a quick render at low resolution. This render is not the final image but a diagnostic tool. Black blotches, strange reflections or missing materials stand out right away. Fixing problems at this stage is much easier than noticing them during the big render.
In the previous part we touched on the general logic of the render engine. If you have not watched it yet, you can go back to part 2 of the series. Once you finish the preparation, continue with part 4.
Name your materials during V-Ray scene preparation
Giving your materials meaningful names during preparation also makes things much easier. SketchUp often gives materials numbered, meaningless names. These names get confusing once you move on to V-Ray settings. For example, a name like “floor_oak” instead of “Material12” lets you find the material you need in seconds.
Also merge copies of the same material. If the same wood exists under two different names, you have to set it up twice. So combine similar materials into a single material. That way one change applies to all surfaces at once.
Frequently asked questions
How long does V-Ray scene preparation take?
In a well-organized model it takes no more than fifteen minutes. In messy models, cleanup takes a bit longer.
Can Purge Unused damage my model?
No, it only deletes items you do not use in the model. Still, we recommend making a copy of your file before you run it.
Do reversed faces affect the render result?
Yes, they cause problems especially in materials and the lighting calculation. So always check face orientation before you render.