SketchUp Visualizer Course Set


The SketchUp Visualizer tutorial set is a short series for anyone looking for a lightweight render engine for SketchUp. The set has two videos: one introduces the render engine, the other visualizes a scene from start to finish. Getting a free render engine for 3D programs has always been hard, because render engines take a huge effort to develop. That is why Visualizer drew a lot of interest when it came out.
Visualizer tutorial set playlist
We recommend watching the two videos in the playlist in order. Get to know how the engine works first, then move on to the hands-on part.
The videos in the set
1. Visualization with Visualizer render
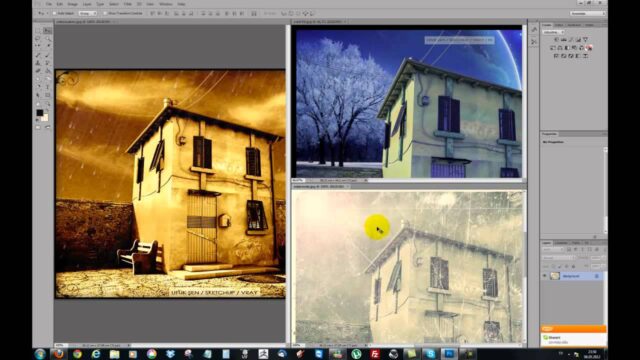
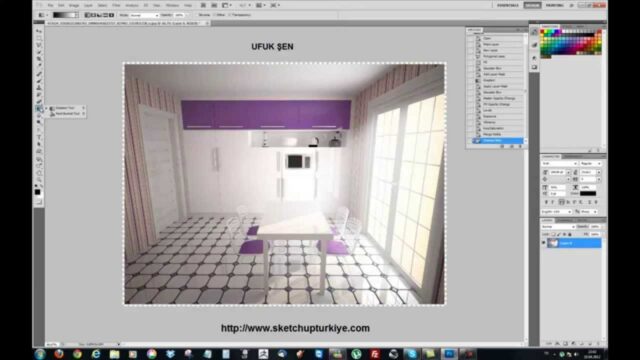
In this video we prepare a SketchUp scene and render it with Visualizer. Visualizer is really simple to use. Once your scene preparation (model, materials and ambience) is done, you just press the render button. We also added the steps you need to follow as on-screen text. In the last part of the lesson we edit the image with the free image programs Photoscape and Gimp. (The video is in Turkish; this guide walks through the key steps in English.)
2. Visualizer render engine walkthrough
The second video focuses on the engine itself. Here you get a closer look at the Visualizer window, the basic options and how it works. If you got stuck on something in the first video, this one fills the gap.
Who is the Visualizer tutorial set for?
We made the set especially for these users:
- Architecture and interior architecture students who want quick images for presentation boards.
- Designers who want to send a client a first draft image in a short time.
- Those who are not yet ready to move to a big engine like V-Ray or Enscape.
- Beginners who want to learn how rendering works with a simple tool.
It is also a good starting point for users who want average quality in commercial work. For projects that demand high quality, though, you need to choose a different engine.
Visualizer’s strengths and weaknesses
When we first wrote this article, Visualizer had become free for SketchUp users. Until then, Kerkythea was the name that came to mind for a free option. But Kerkythea took extra effort both to use and to export to. Visualizer stood out with its ease of use and a flexible setup that gave output in one click.
On the other hand, like every render engine, it has its gaps. You cannot get into detailed material settings. And when little light enters the scene, render time gets longer. In short, you should not expect too much from a free engine. Still, in terms of ease of use, it was one of the most flexible options of its time.
Before you install it, check the plugin’s current status and version compatibility on Extension Warehouse.
Understanding rendering with this set
Visualizer’s simple setup is actually an advantage for learning. In advanced engines it is very easy to get lost among dozens of settings. Here you focus on the relationship between light, material and camera. For example, when you change the sun angle, you immediately see how the shadows and colors change. This basic intuition helps you later, whichever engine you use. So think of the set not just as a plugin lesson, but as an introduction to how rendering works.
What to watch for while you follow the set
As you watch the video, apply the same steps to your own model. Start with a small scene with plenty of light. That keeps render time short and lets you see the effect of the settings quickly. Then try the same scene again with different sun angles.
Preparing materials at the right scale inside SketchUp is also very important, because detailed material settings are limited in Visualizer. So the result depends largely on your preparation in SketchUp.
What to learn after the Visualizer tutorial set
After you finish the set, you will have a good grasp of how rendering works. The next step is to choose a more advanced engine that fits your needs. We compared which engine suits which job in our 5 best render engines article.
If you want to see the workflow in writing, from scene preparation to editing, see our visualization with Visualizer lesson. Our Visualizer render article, where the same video was first published, is also still on the site.
The videos were made by our friend Mesut Tuma. We thank him for his work.
Frequently asked questions
How many videos are in the Visualizer tutorial set?
The set has two videos: a visualization walkthrough and a render engine walkthrough.
Can I get photorealistic renders with Visualizer?
You get average-quality images that work for presentations. For photorealistic results you need a more advanced engine.
What should I use for post-production?
In the first video of the set we use the free programs Photoscape and Gimp. Both are enough for brightness, contrast and color adjustments.