SketchUp Flooring: Cutting and Counting Parquet, Tile and Herringbone Patterns

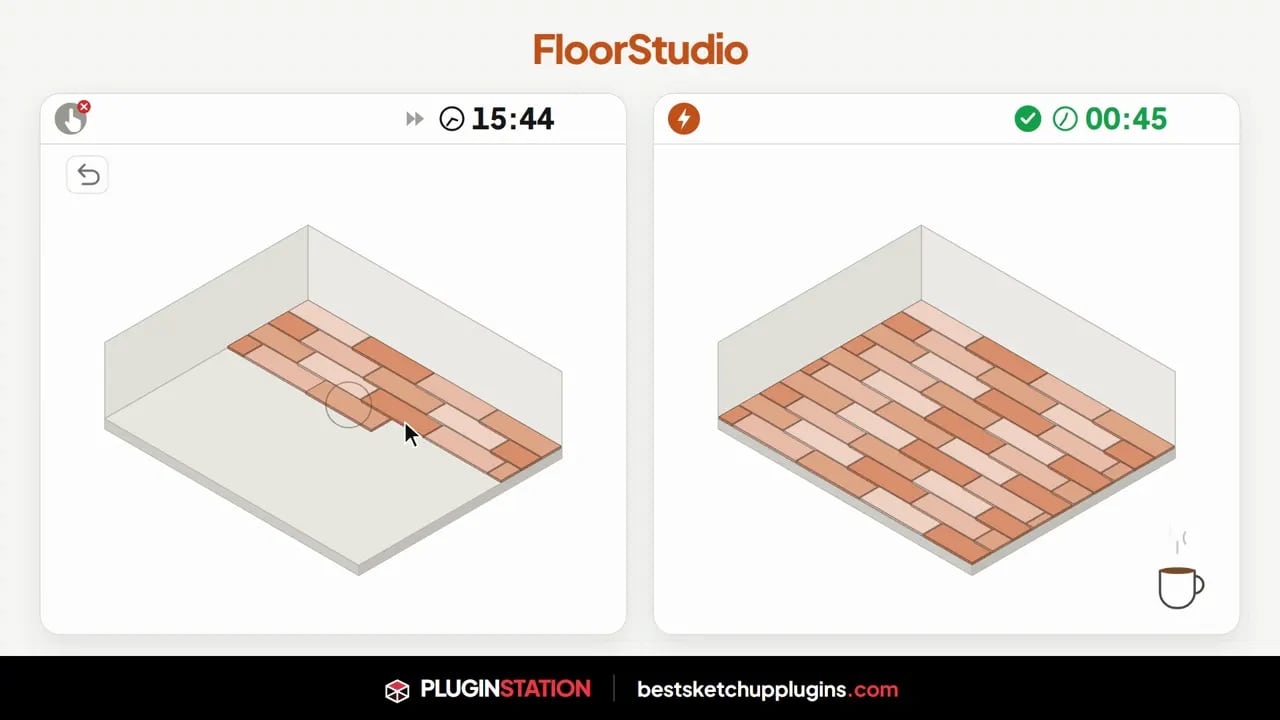
When a client walks into a room, their eye goes to the floor first. A single crooked joint cheapens the whole presentation, while a flawless floor shows how much you care about detail. Done by hand, SketchUp flooring means copying pieces, cutting them to the walls and counting boxes, and that takes hours. In this guide, we explain how to lay parquet, tile and herringbone patterns quickly and accurately, and how to get the quantity takeoff at the same time.
In this article:
- Why is SketchUp flooring slow?
- 13 patterns and real joints with FloorStudio
- Takeoff: stop recounting boxes
- Step by step: laying a room
- Compatibility and installation
- Which pattern suits which space?
Why is SketchUp flooring slow?
Covering a floor with a texture is fast, but it isn’t real. The joints are inside the image, so when you change the scale, the joint width changes too. The half pieces along the edges where the room meets the walls don’t show, and you get no takeoff either. For texture sources, see our SketchUp texture post. But a real flooring plan needs more than a texture.
Laying the floor with geometry brings a different burden. You draw a piece, copy it, multiply the array, then cut it piece by piece to the walls, columns and stair openings. Finally, you count the full and cut pieces and work out the waste. This workflow takes a long time even for one room.
13 patterns and real joints with FloorStudio
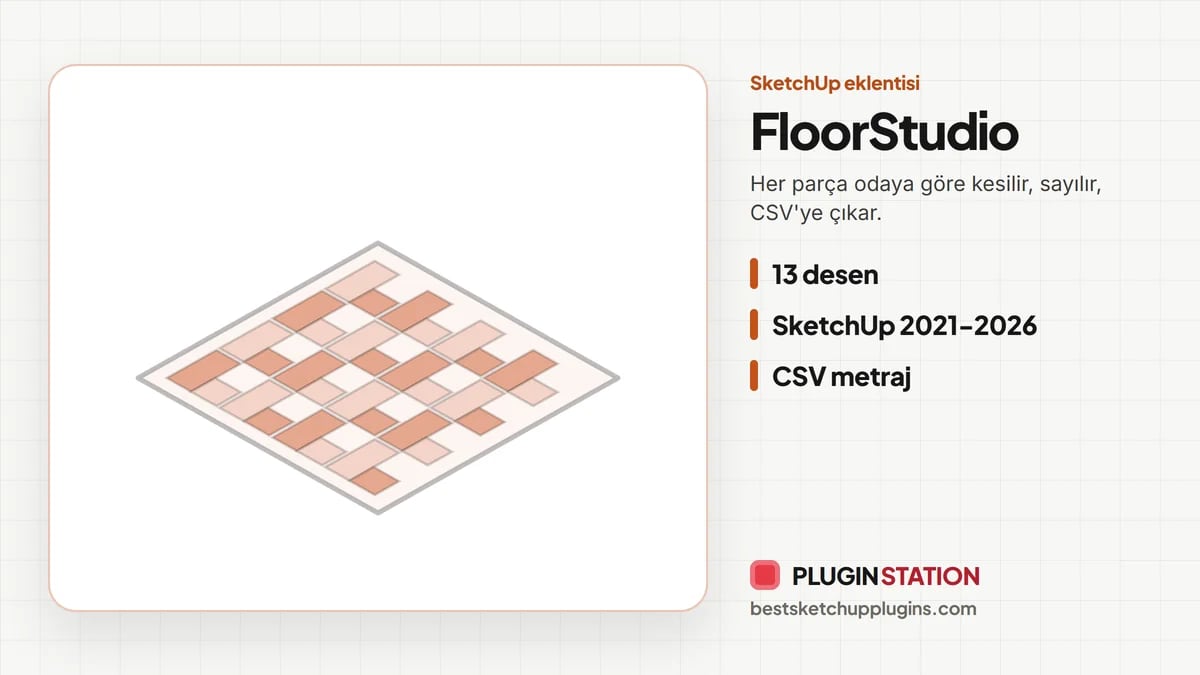
FloorStudio brings this job down to one step: you select a face, choose a pattern and apply it. The extension comes with 13 ready-made patterns:
- Straight wood, stack bond
- Offset 1/2, 1/3 and 1/4
- 45-degree diamond and hexagon
- Herringbone (single, double, triple) and chevron
- Basket weave 2×2 and ladder pattern
Joint X and joint Y are independent of each other, and you enter them as real physical sizes. So if you type 3 mm, the joint stays 3 mm. It isn’t a scale trick. Next to them are settings for piece length, width, thickness, rotation and fitting to the area. The live preview refreshes itself shortly after your last change, and you can turn it off if you like.
No piece spills over the edge
Every piece is cut to the room’s real outline: walls, stair openings, shafts and columns. So no piece spills over the edge or into an opening. You can also add a real chamfer to the top edges if you want. The chamfer width and segment count are adjustable.
Randomness for a natural look
Parquet looks fake when every board has the same tone. FloorStudio offers seeded randomness in length, width, height and color tone. The color tone comes from a palette of 32 variants, and the wood grain can be turned 0 or 180 degrees. The UV engine also aligns the texture to each piece’s long axis and gives each piece a different texture offset.
Takeoff: stop recounting boxes
The floor is measured as it is built. FloorStudio gives you these values:
- Net room area and covered area
- Joint area
- Full, cut and total piece count
- Waste allowance percentage and recommended coverage
- Box count
These values go out to a semicolon-separated CSV file that opens directly in Excel. So you don’t recount boxes before you order. As your model file grows, the methods in our reducing SketchUp file size post help too.
Step by step: laying a room
- Prepare the room’s floor as a single closed face, and leave columns and openings as holes in the face.
- Select the face and open FloorStudio.
- Enter the pattern, piece size and joint X/Y values.
- Set the randomness and material options, and check the preview.
- Apply it, then export the takeoff as a CSV.
Limits for large areas
The extension shows its limits clearly. Above 20,000 pieces it asks for confirmation, and at 100,000 pieces it stops for good. The preview draws the first 1,800 pieces so the window stays smooth. It works on a single selected face at a time, and the smallest piece is 1 mm. A piece that can’t be generated doesn’t stop the operation. It is skipped and reported. For smooth work in large files, the tips in speed up your SketchUp also help.
Compatibility and installation
FloorStudio runs on SketchUp 2021 through 2026, and its interface is in Turkish and English. You install the .rbz file with Extensions > Extension Manager > Install Extension. At startup, there is also a Self Test window that checks core SketchUp functions, so you see the state of your installation before you lay a floor. For now, export is CSV only.
If you want to see the floor you laid in real light, you can render inside SketchUp with our free render engine Render Fun. FloorStudio’s current price and purchase options are on the product page.
Which pattern suits which space?
Choosing a pattern is a design decision, and it sets the character of the room. With all 13 patterns at hand for SketchUp flooring, these general approaches are a good place to start:
- Straight wood and offset 1/3: give a calm, continuous look in large areas like living rooms and bedrooms. Laying the long side parallel to the direction the light comes from makes the space look deeper.
- Herringbone and chevron: call for a classic or elegant mood. They create a striking floor in entrance halls, corridors and living rooms.
- Stack bond: creates a clean grid with large-format tiles in modern, minimal spaces.
- Hexagon and diamond: stand out in small spaces with character, like bathrooms, kitchen backsplash areas or cafes.
- Basket weave: gives a textured floor in traditional or rustic interiors.
Joint color and width matter as much as the pattern. A thin joint in a color close to the floor unifies the surface, while a wide, contrasting joint emphasizes the pattern. Since FloorStudio takes joint X and Y separately, you can, for example, try a visible joint on the long side only.
Finally, show the client two patterns. Changing the pattern on the same face and applying it again takes a few seconds. If you save each option to a separate SketchUp scene, you can switch between scenes in the presentation and show the difference side by side.
Summary
In short, in SketchUp flooring, textures are fast and geometry is accurate. FloorStudio closes the gap between the two: 13 patterns, real physical joints, pieces cut to walls and openings, and a CSV takeoff that goes all the way down to the box count. So the same floor works for you in both the presentation and the order.
Frequently asked questions
Should I use a texture or geometry for SketchUp flooring?
For distant views, a texture is enough. If you need close-up renders, joint control and a takeoff, laying the floor with real geometry is the better choice.
Is a herringbone pattern cut around columns?
Yes. Pieces are cut to the room’s real outline and inner openings, meaning stair openings, shafts and columns.
What format is the takeoff in?
It comes out as a semicolon-separated UTF-8 CSV, and Excel opens the file directly.
Do I need an internet connection?
No. The extension works fully offline, and nothing about your model leaves your computer.
Does FloorStudio work in sloped or irregular rooms?
It follows the real outline of the single face you select. Complex polygon rooms and inner openings are supported. It works on one face at a time.