Realistic Enscape Render Tutorial: Part 01

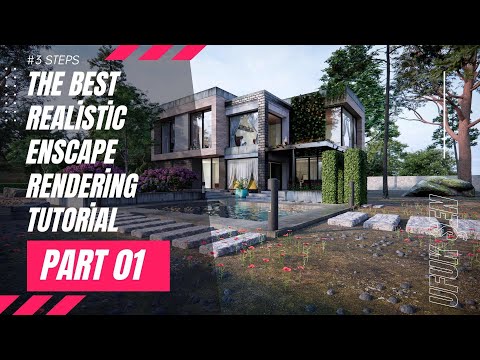
The best realistic Enscape render tutorial. This course is divided into 3 parts. We’ll see how to create high-quality 3D visualization with Enscape.
 YouTube
What’s in this video?
This video is the first part of our “The best realistic Enscape rendering tutorial” series. As we wrote in the description, the course is divided into three parts. Our goal is to get a high-quality, realistic 3D visualization with Enscape and show you step by step how we do it.
- The overall plan of the series: a project completed in three parts
- The aim of the first part: starting to prepare the scene for a realistic result
- The main tool: Enscape, working together with SketchUp
The video description has no chapter timestamps. So we recommend opening the lesson side by side with your own scene and trying the steps right away. The video’s language and title are in English, and this page sums up the topic for you.
Who is it for?
The video runs about 33 minutes. Since it is the first part of the series, it suits anyone who wants a solid introduction to the topic.
- SketchUp users who want to create their first serious render with Enscape
- Architects and interior architects looking for fast but convincing presentation images
- Students who want to get used to working with English-language resources
- People who want to see the difference between real-time and classic rendering
- People who want to see how the project starts before watching the third part
Before you watch: The best realistic series and Enscape
Enscape is a render extension that works in real time. With classic render engines, you wait until the calculation finishes for each image. In Enscape, you see changes to the model almost instantly. This speed makes it very easy to test design decisions right in the scene.
But speed alone does not bring realism. A realistic image needs good framing, the right light, correctly scaled materials and enough detail. This series, which we titled “The best realistic”, aims to bring exactly these pieces together.
If basic SketchUp topics like the camera, scenes and materials are new to you, you can also look at the official Help Center.
Basic steps for a realistic scene
In our own projects, we follow this order when going for a realistic result. It does not replace the flow in the video, but it shows you what to watch for during the lesson. Even if the order changes, the purpose of each step stays the same: making the viewer believe the image.
- Decide on the framing first. The angle you look from also decides where you add detail.
- Then set up the light. The direction of the sun and the time of day are the settings that change the mood of a space the most.
- Then move on to materials. A texture at the wrong scale looks fake even in the best light.
- Leave the details for last. Plants, furniture and small accessories make a scene feel lived in.
- Finally, take a few test images and compare them. Small differences often have the biggest effect.
Real-time rendering: strengths and weaknesses
The biggest gain of working in real time is the speed of feedback. For example, when you change the color of a wall, you see the result without waiting. This makes it easy to try options together with the client.
On the other hand, this speed depends on the graphics card. As the scene grows, smoothness drops and your computer’s power becomes more decisive. In very complex lighting situations, classic render engines still offer more control. Which one you choose depends on the project timeline and the expected quality.
Related lessons
- The third part of the series (Part 03): the final stage of the project.
- Interior render lesson with Enscape: an indoor space with the same engine.
- Bedroom render lesson: another example of a realistic interior.
- Realistic architectural render techniques: SketchUp and Enscape together.
- Our render guide: brings the other render engines together on one page too.
Frequently asked questions
Can a render from Enscape really look realistic?
With the right light, good materials and careful framing, you get very convincing results. But the preparation of the scene decides the result more than the engine does.
Is the video easy to follow?
You move forward by watching what we do on screen, so the steps are easy to follow. The summary on this page also gives you the main outline of the topic.
Do I need a powerful computer for Enscape?
Since it works in real time, graphics card performance is decisive. For the exact requirements, we recommend checking the developer’s current list.
Should I watch the parts of the series in order?
Yes. The best realistic series is a single project in three parts, so watching in order is best. That way you see how each part builds on the one before it.