Twinmotion 2022 Exterior Render Lesson

TWINMOTION 20202 – Exterior Render Tutorial
Join to support this channel and get perks: https://www.youtube.com/channel/UCkM6…
SketchUp Türkiye always works to give you the highest-quality, most complete information in the field of 3D training.
For technical Q&A, you can use our site https://sketchupforum.com/.
 YouTube
What’s in this video?
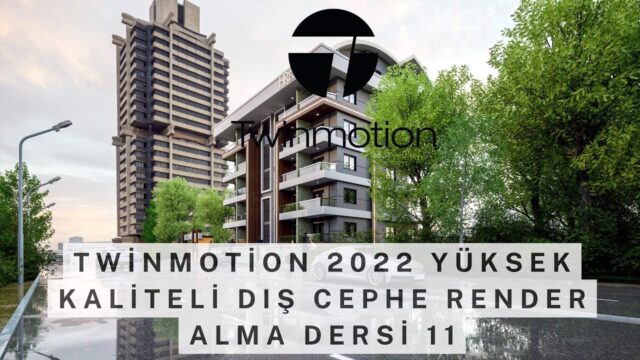
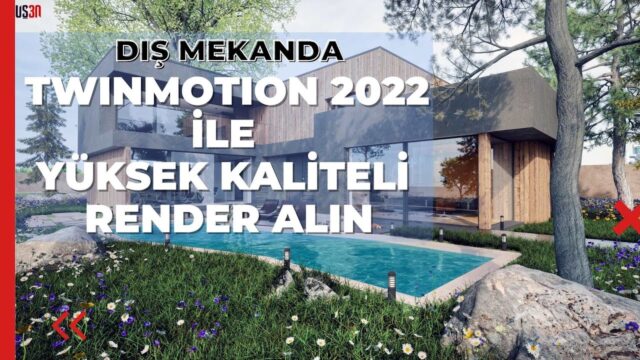
This video is a full exterior render tutorial we made with the program. The title says so too: “Exterior Render Tutorial”. The title in the description says “20202”, but that is a typo. The lesson covers the 2022 version. (The video is in Turkish; this guide walks through the key steps in English.)
The YouTube description repeats the title and has no chapter timestamps. So let’s sum up the content as far as we can tell from the title:
- Preparing an exterior scene for rendering from start to finish
- Creating presentation-ready exterior images from the scene
We also shared the same video in our fast visualization post. There, we touched on light and materials. In this post, we treat the job as a workflow. So the two posts complement each other.
Who is it for?
The video runs about 40 minutes. So it suits users who want to learn the topic in depth. Architects who create facade and site plan images will get a lot out of this lesson.
It is also a good resource for young architects who handle visualization in their own office. Watching a long lesson from start to finish is the most solid way to settle into the program’s workflow.
You don’t have to finish the video in one sitting. For example, if you watch one part each day and try the same step in your own project, you’ll master the whole workflow in a few days.
Exterior render workflow in Twinmotion: what you need to know
In an exterior image, the order of the work directly affects the quality of the result. If you mix up the order, you end up redoing the same setting again and again. In general, this workflow makes our job easier:
- Model: Clean up the model in SketchUp and separate materials with meaningful names.
- Import: Bring the model into the program and check that the scale is right.
- Materials: Set the main materials like glass, facade and ground first.
- Surroundings: Place objects like trees, plants, people and vehicles.
- Light: Choose the sun direction and sky to suit the mood of the project.
- Camera: Save a few angles and lock down the framing.
- Output: Export the final images at high resolution.
In this sequence, the most critical step is often the model itself. For example, a facade you paint with a single material in SketchUp is hard to split into parts in the render program. So setting up your material layout from the start while you model speeds up every later step.
Watch a few points at the output stage too. Choose the image’s aspect ratio for where it will be used. For example, a landscape frame suits a drawing sheet, while a portrait frame suits social media. Exporting both a daytime and an evening version of the same angle also enriches the presentation.
The surroundings need their own care too. Instead of lining trees up randomly in front of the building, think of a real landscape plan. For example, walkways, a parking lot and garden boundaries give the image a logical layout. A few plants in the foreground also add depth to the image.
On the camera side, eye level is always a safe start. A bird’s-eye view helps when you explain the site plan. A pedestrian-eye view, on the other hand, shows how the building will sit on the street.
For the basics of organizing a model in SketchUp, take a look at the official help pages.
Related lessons
- For a shorter example, see our fast exterior visualization lesson.
- We covered exteriors in the next version in the exterior render with 2022.1 lesson.
- For weather and seasonal effects, watch the winter scene in 5 minutes lesson.
- If you’re new to the program, the basics series is a good start.
- All our render content is on our render guide page.
Frequently asked questions
Does the Twinmotion lesson cover 2020 or 2022?
The lesson covers the 2022 version. The “20202” in the description is a typo.
Can a beginner follow this long lesson?
Yes, but we suggest you get to know the interface first. That way you keep up with the steps in the video more easily.
Why does my image look flat, with no depth?
Most of the time, the reason is that there are no objects in the foreground. Adding a few plants or a roadside edge at the front of the frame gives the image depth right away.
What resolution should I export Twinmotion images at?
It depends on where the image will be used. Do your tests at a small size. Then export the final image at a high resolution for your print or presentation needs.