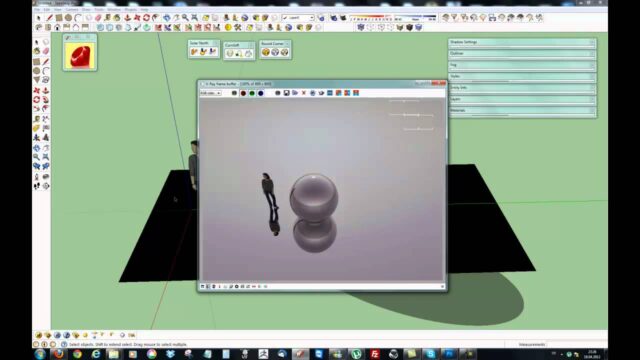
Create High-Quality Materials from Scratch with SketchUp V-Ray 02

Would you like to create your own high-quality material from scratch in SketchUp V-Ray and learn what the V-Ray menus do?
 YouTube
What’s in this video?
This lesson is the second part of our SketchUp V-Ray materials series. In the video, we explain how to create your own high-quality material from scratch and what the material menus do. In other words, instead of using a ready-made material, you build the material yourself from the ground up. (The video is in Turkish; this guide walks through the key steps in English.)
The video description has no chapter timestamps. According to the description, the main topics of the lesson are:
- Creating a new V-Ray material from scratch
- Getting to know what the material menus do
- An overview of the settings that decide material quality
This part goes one step beyond the first lesson, where you get to know ready-made materials. That way, you move on to the complex materials in later parts of the series with a solid foundation.
Who is it for?
The lesson runs about 12 minutes. It especially suits users who have started rendering with V-Ray but struggle with material settings. Interior designers who aren’t satisfied with ready-made libraries and want to build their own materials will also find what they are looking for here.
It is a valuable lesson for architecture students too, because understanding material logic helps whichever render engine you move to. The reflection and roughness concepts you learn in one engine work in a similar way in the others.
What you need to know about SketchUp V-Ray materials
A material basically answers three questions: what color is the surface, how does it reflect light, and how rough is it? The V-Ray menus let you set each of these separately. So we recommend learning each menu not on its own, but by linking it to one of these three questions.
- Diffuse: the base color or texture of the surface.
- Reflection: how much light the surface reflects.
- Glossiness: whether the reflection is sharp or blurry.
- Refraction: light passing through transparent surfaces such as glass and water.
- Bump: giving the surface a sense of roughness without adding real geometry.
In real life, almost no surface is completely matte or completely mirror-like. For example, a polished wooden table reflects slightly, but its reflection is blurry. So you need to think about reflection and sharpness values together. Once you balance the two, the material suddenly becomes convincing.
For a high-quality material, the texture image itself matters too. For example, a low-resolution parquet image looks blurry right away in close-up shots. The texture’s scale inside SketchUp also has to match its real size. A tile at the wrong scale makes the scene look artificial even in the best light.
We recommend setting up a small test scene while you experiment. A single sphere or cube lets you see changes to the material quickly. Then you bring the material you like into your main scene. That way, you don’t wait for the big scene to render every time you change a setting.
Finally, make a habit of saving the materials you create. A marble or wood material you build with SketchUp V-Ray saves you time in later projects too. In the long run, building your own library becomes your biggest source of speed.
Giving your materials consistent names is a small but effective habit too. For example, if you include the material type and color in the name, you find what you need right away in large scenes. You also avoid ending up with several copies of the same material, and the scene stays lighter.
For the basics of materials and textures on the SketchUp side, the official SketchUp Help Center is also a good starting point.
Related lessons
- For the first part of the series, see the using ready-made materials lesson.
- Next comes the using image files as materials lesson.
- For the physics behind materials, watch the how materials work physically lesson.
- For difficult surfaces, assigning materials to complex surfaces is the advanced part of the series.
- All our render content is on our render guide page.
Frequently asked questions
Ready-made materials or my own?
Ready-made materials give you a quick start. But learning to build your own material lets you fine-tune it for every scene.
Why does my material look like plastic?
Most of the time, the reflection is too strong or the surface is set too smooth. First lower the reflection sharpness, then add a slight bump.
Do I need to memorize the material settings?
No. Understanding what each menu changes on the surface sticks better than memorizing values. Then you find your own settings by experimenting in a test scene.
What resolution is enough for texture images?
It depends on how close the camera gets to the surface. Use higher-resolution textures for close-ups; smaller images are enough for distant surfaces.