SketchUp Interior Render: Day, Night, Exterior and Product with Render Fun

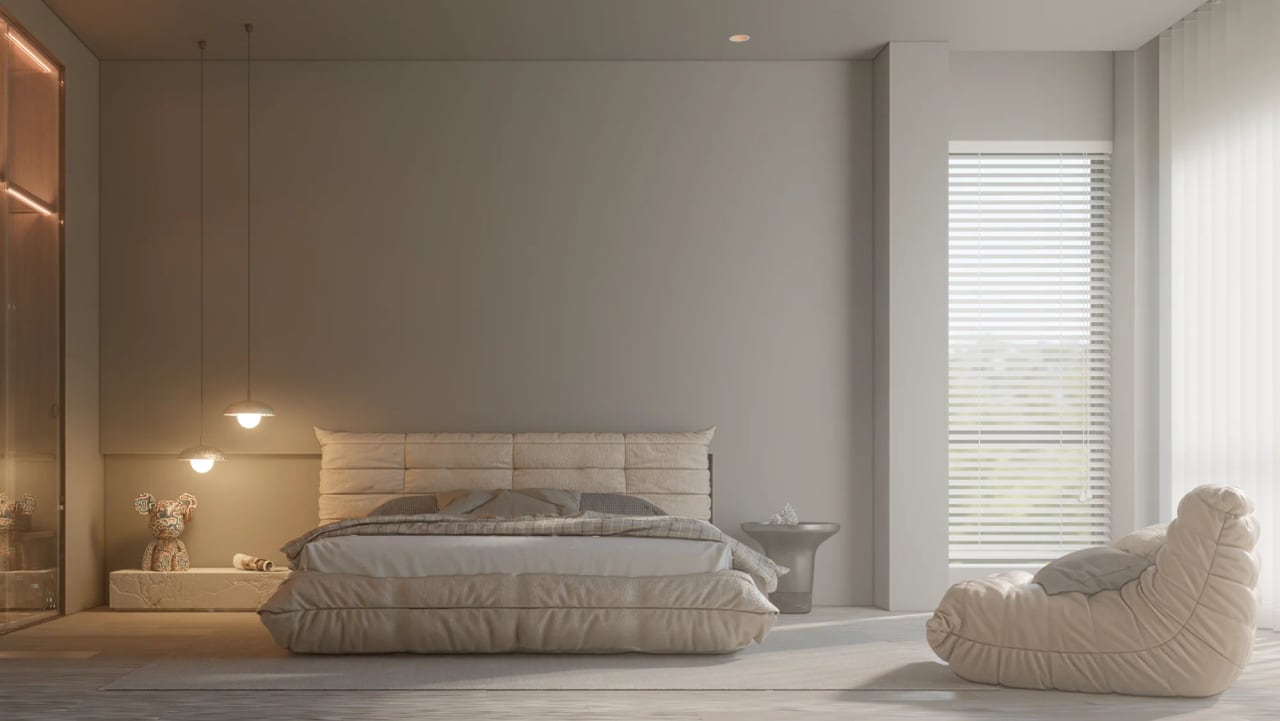
Your client should feel the room before they walk into it: morning light falling on the floor, the warmth of the evening lamps. A SketchUp interior render is the job where light matters most, because light enters the room through the window and bounces off the walls to reach every corner. In this guide, we explain how to render an interior by day and by night with Render Fun, and then what changes for exterior and product renders.
In this article:
- The right start for a SketchUp interior render
- Day scene: light through the window
- Night scene: lamps and the light mixer
- Camera and composition
- Exterior render: the sun does the work
- Product and furniture render
- Sharing: Before / After and panoramas
The right start for a SketchUp interior render
A good interior render starts with a good model. The windows need a real glass face, the walls need thickness, and the room needs to be closed. Otherwise light leaks in from unexpected places. For model cleanup, the steps in our reducing SketchUp file size post help here too.
In Render Fun, Smart Check shortens this preparation. One button scans the model and lists lights and proxies left over from other render engines, empty groups, duplicates, oversized textures and reversed faces. It fixes the ones you tick in a single step, and a single undo brings them all back.
Day scene: light through the window
- Open Render Fun and choose the “Interior · Day” preset scene.
- Give the window panes the Glass material.
- Set the sun’s time and date in SketchUp’s Shadows settings. Render Fun reads them on its own.
- Choose “Medium” quality. It clears interior noise faster.
- Press RENDER. If you like, use “Until clean” to let it stop on its own.
In the last step, on Windows, the AI denoiser runs and clears the remaining noise. So the interior render job turns into a workflow of a few steps instead of a long wait.
Night scene: lamps and the light mixer
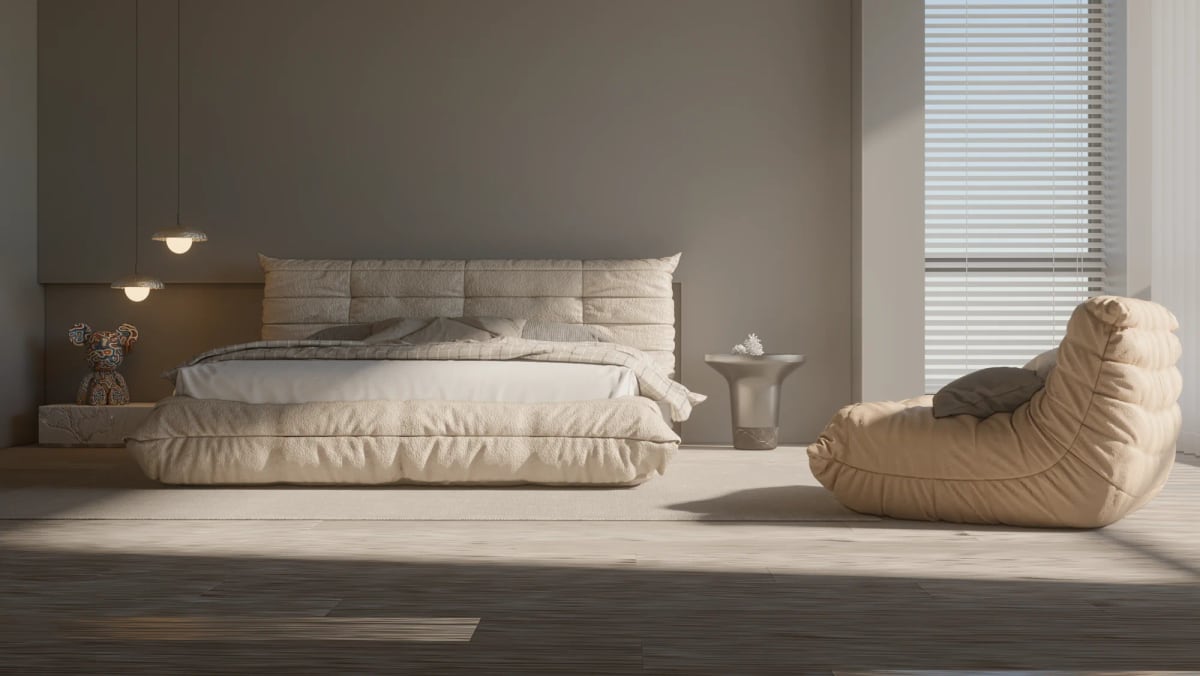
In a night render, you set up the light yourself. After you choose the “Interior · Night” scene, add point, spot or panel lamps where the real fixtures are. IES light distribution gives you the light pattern a real spotlight casts on a wall. Emissive textures suit glowing surfaces like a lampshade or an LED strip.
When the render is done, the light mixer takes over. You change the power and color of lamp groups afterward, with no need to render again from scratch. For example, by dimming the ceiling spots and warming the lampshade, you can get two different moods from the same room.
Final touches for color and detail
AgX, ACES and Filmic color management, color correction, white point picking and ready-made looks work instantly on the finished image. Ambient occlusion and edge highlighting are also ready for detail. In the Render Buffer, you can make image edits like exposure, contrast, temperature, clarity and vignette.
Camera and composition
A good SketchUp interior render image depends on the right framing as much as the right light. Render Fun’s camera helpers make this easier:
- Rule-of-thirds grid: place the room’s focal point, for example a sofa or a window, where the grid lines cross.
- Horizon line: keeping the camera at eye level makes the room look natural.
- Straighten verticals: wall corners and door frames stay vertical, so the room doesn’t look tilted.
These helpers don’t show up in the saved image. Slightly blurring a foreground object with depth of field also adds a sense of depth to close-up detail shots.
Presenting day and night side by side
Presenting day and night renders of the same room side by side shows the client how the space changes through the day. Save the same camera to a SketchUp scene. Render first with the day preset, then with the night preset. The Render Buffer keeps both images numbered and doesn’t overwrite them.
Exterior render: the sun does the work
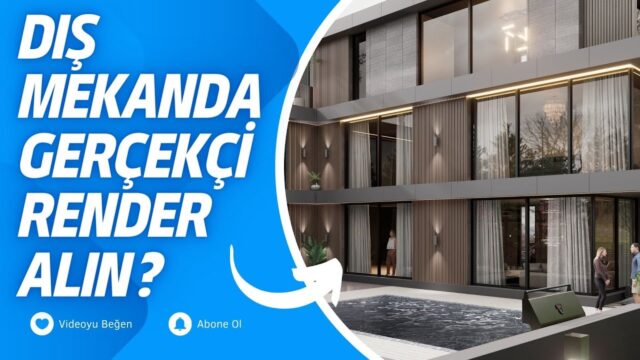
On a facade, the light source is the sun. “Exterior · Day” gives a bright sun with sharp shadows, and “Exterior · Sunset” gives a low, warm sun and long shadows. A light haze adds depth to a street or landscape. For architectural images, “Straighten verticals” gives you two-point perspective, so vertical edges stay parallel.
For landscaping, a 129-species plant pack and a water material with its own color are ready. In pool water, the shallow end looks light turquoise and the deep end dark navy. For details on exterior settings, our classic exterior render settings post also helps you understand the concepts.
Product and furniture render
In a product render, the goal is to show the object on a clean backdrop with the right material. In Render Fun, these tools suit the job:
- HDRI lighting: 10 built-in CC0 HDRIs or your own .hdr and .exr files, with rotation and intensity settings.
- One-click materials: lacquer, plastic, ceramic, metal and car paint, with an IOR setting for glossy materials.
- Shadow catcher and transparent background: for placing the product, with its shadow, into a photo or catalog page.
- Depth of field: for putting the focus on the product.
Sharing: Before / After and panoramas
When the render is done, you can turn the SketchUp view and the result into a slider page or a 5-second video. The 4:5 and 9:16 ratios suit social media. For interiors, you get a 360° panorama in one click. When you add tour points to a few rooms, the client walks from the living room to the kitchen in the browser. If you’re curious how different render engines approach this, see our SketchUp rendering: the 5 best render engines post.
Download Render Fun for free at renderfun.com. Its use cases are shown with images on the Render Fun use cases page.
Summary
In short, the right workflow for a SketchUp interior render is a clean model, the right preset scene, lamps where the real fixtures are and color adjustment as the final touch. With the same tools, exterior and product renders come with just a few setting changes.
Frequently asked questions
Which quality should I choose for a SketchUp interior render?
“Medium” is recommended to start. It clears interior noise faster. On the final image, the AI denoiser finishes the rest.
Can I change the lamp power after the render?
Yes. The light mixer changes the power and color of lamp groups after the render is done.
Where do I set the sun’s time?
By default, Render Fun follows the time and date in SketchUp’s Shadows settings. If you prefer, you can set the direction and height yourself.
Can I save the product with a transparent background?
Yes. You can save the transparent background and render masks for use in a photo editor.
How does the client open the panorama tour?
Render Fun creates a single HTML panorama tour. The client opens it in the browser without installing an app.
Can I make animations?
Yes. An animation that orbits the model or moves between scenes is saved as MP4 in SketchUp 2024 and later.